
Initial Setup & Preparation Guide
To use this app, you must install Apple "Health" for iOS, or "Google Fit" and "Health Connect" for Android, and link your physical activity data with ASHARE.
🍎 iOS Version (iPhone) Setup
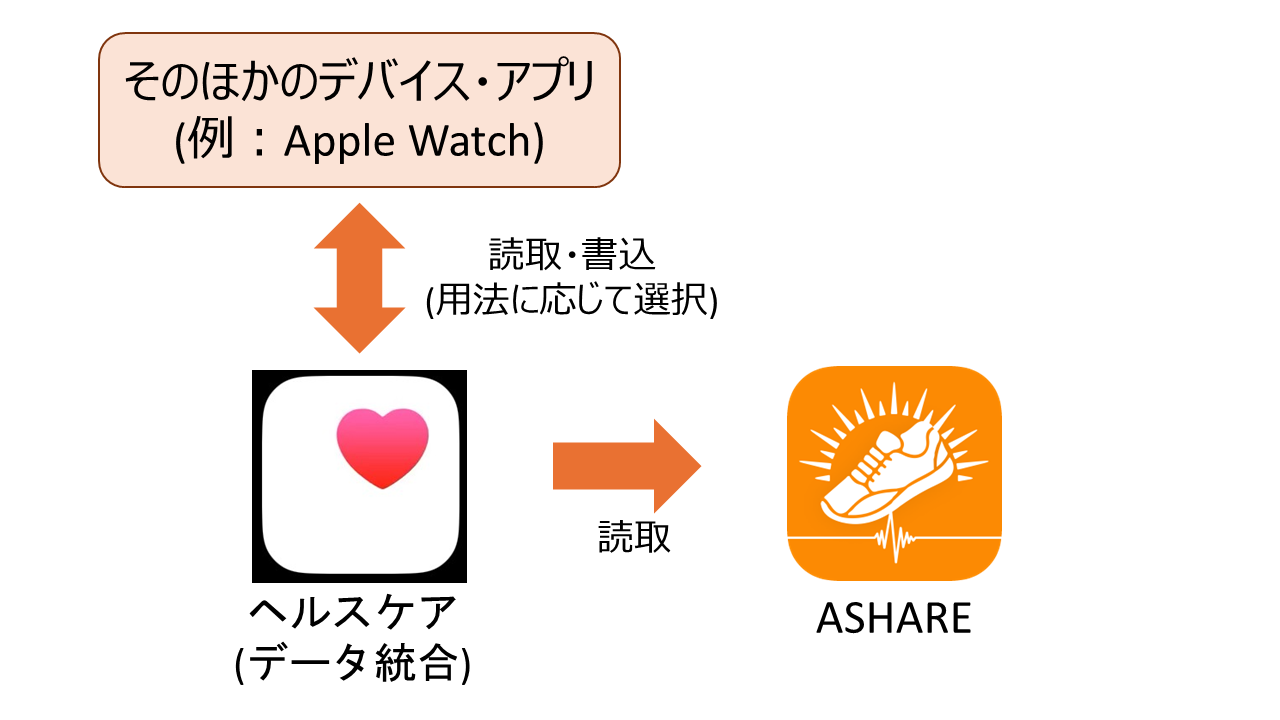
To use the iOS version of ASHARE, you must ensure the native Apple "Health" app is installed on your device and configure data integration to share physical activity metrics.
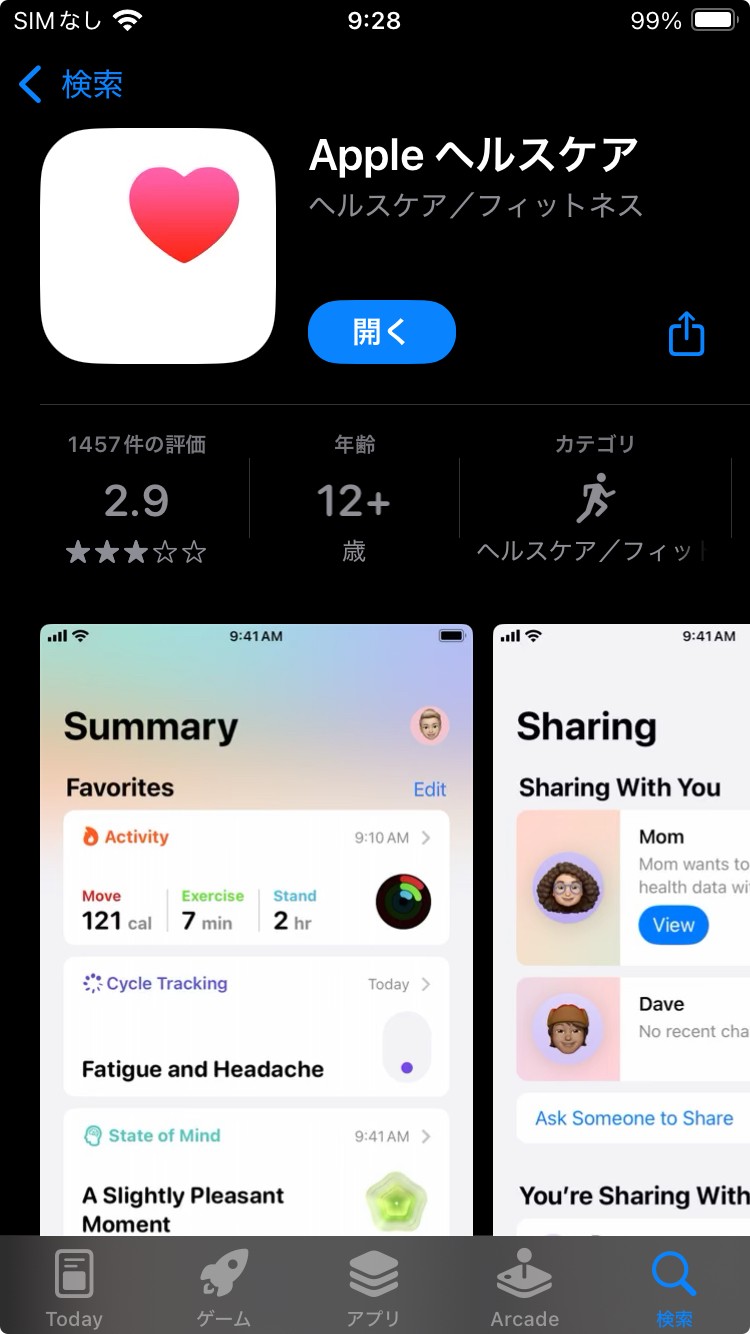
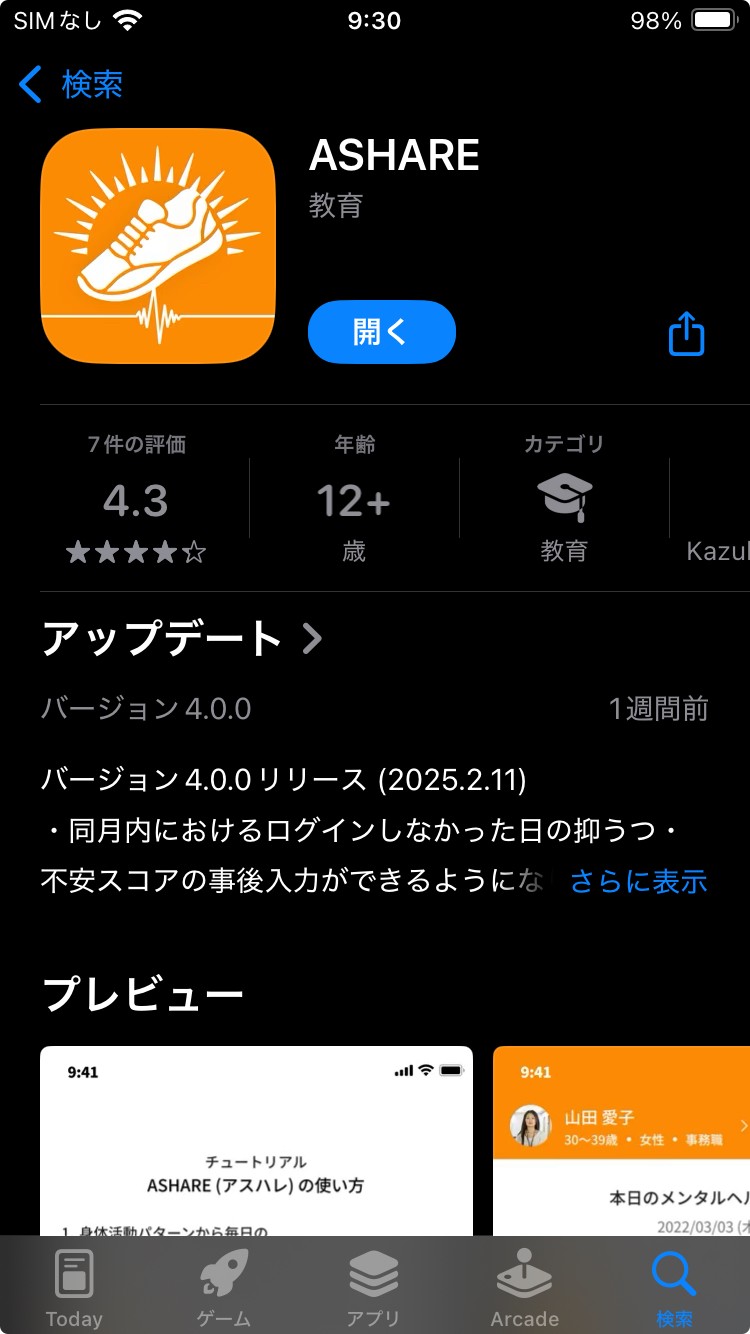
Step 1: Installing Apple "Health" and "ASHARE"
- In most instances, Apple "Health" comes pre-installed on iOS devices. If it has been removed, search for "Health" on the App Store to re-install it.
- Once "Health" is confirmed, search for "ASHARE" on the App Store and install the application.
*Both Apple "Health" and "ASHARE" are completely free to install and use.
Step 2: ASHARE User Registration
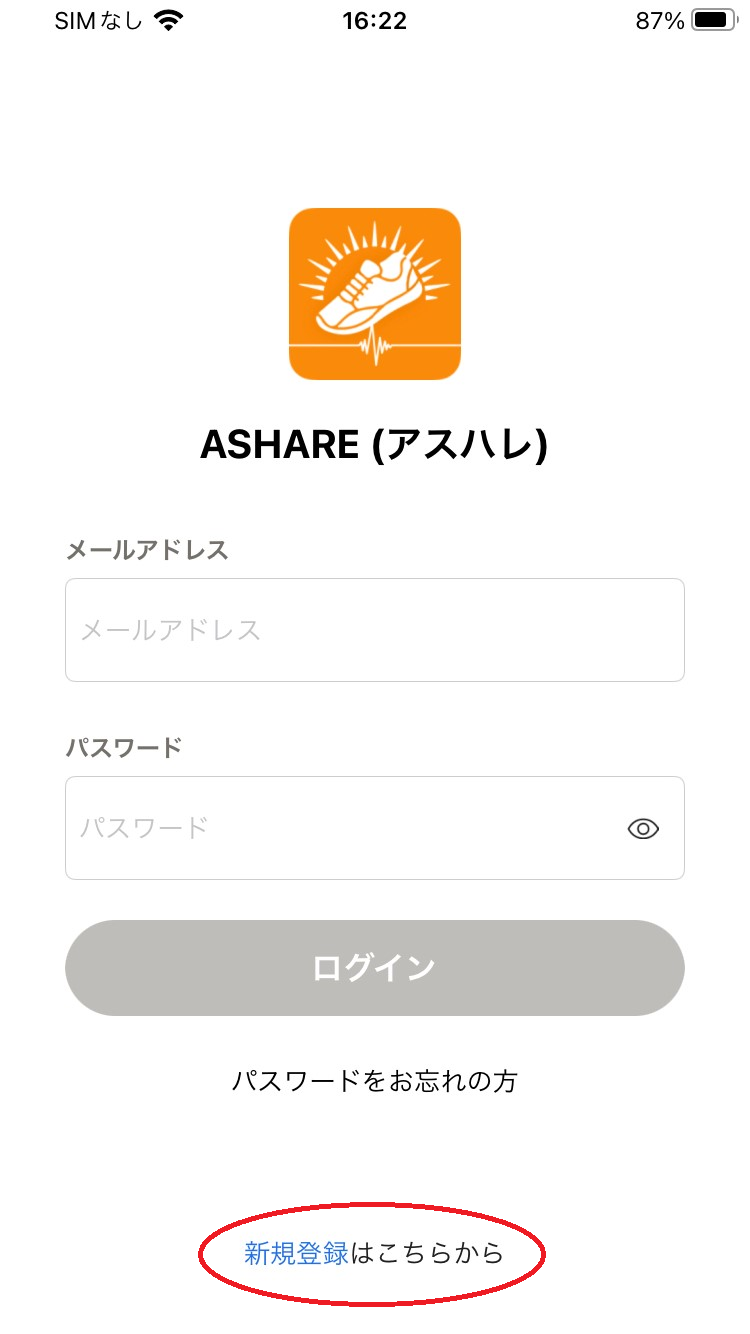
- Tap "Sign Up" (新規登録) to set up your account email address and password. We recommend using an email address that is easily accessible from your smartphone.
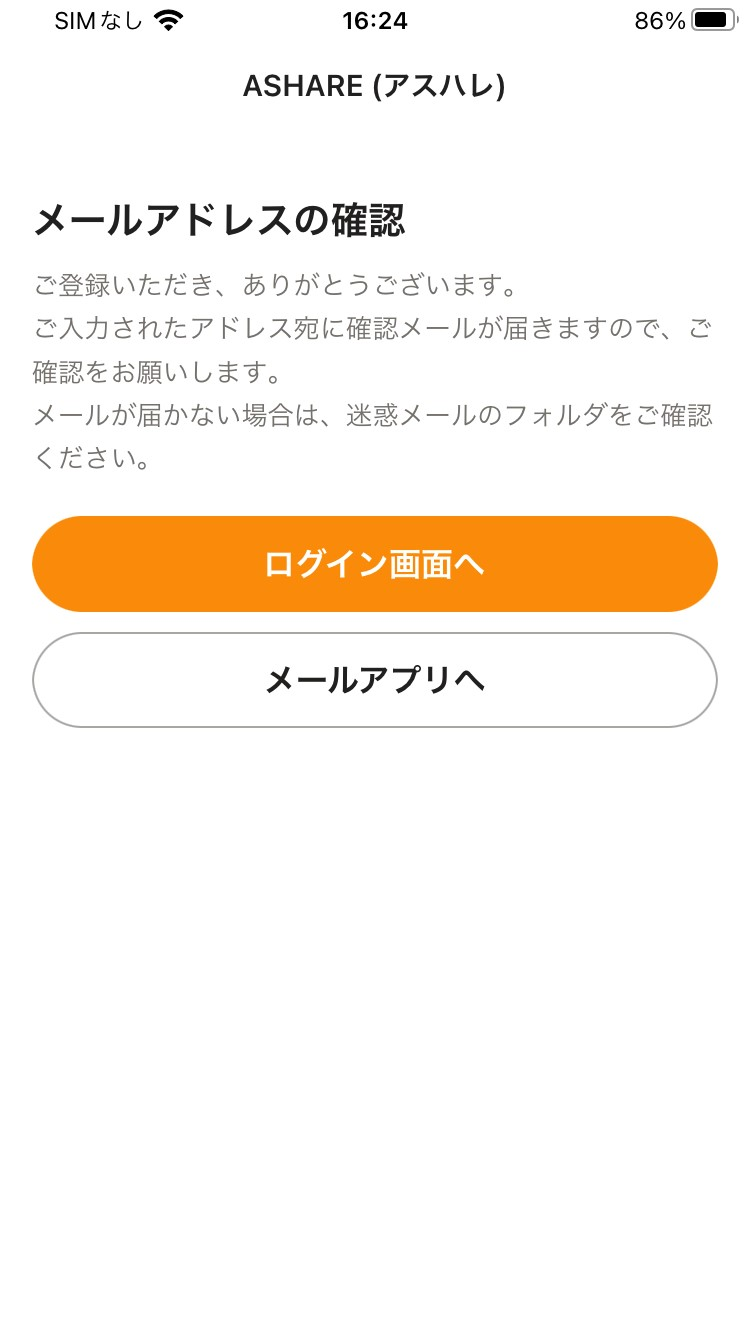
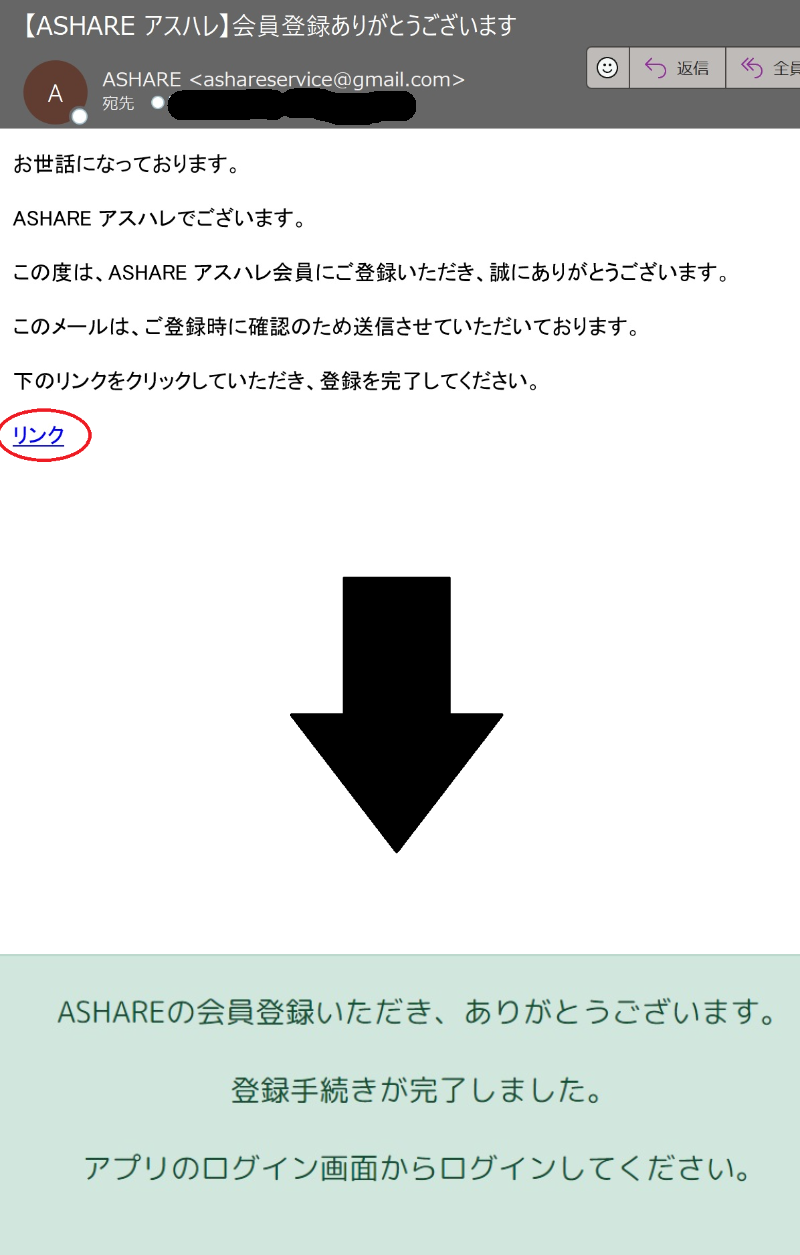
- A verification email will be dispatched to your address from
ashareservice@gmail.com. Please check your junk or spam folder if it does not appear in your inbox. - Locate the verification link at the bottom of the email and tap it. A green confirmation screen signifies successful account verification (you may close that browser screen safely).
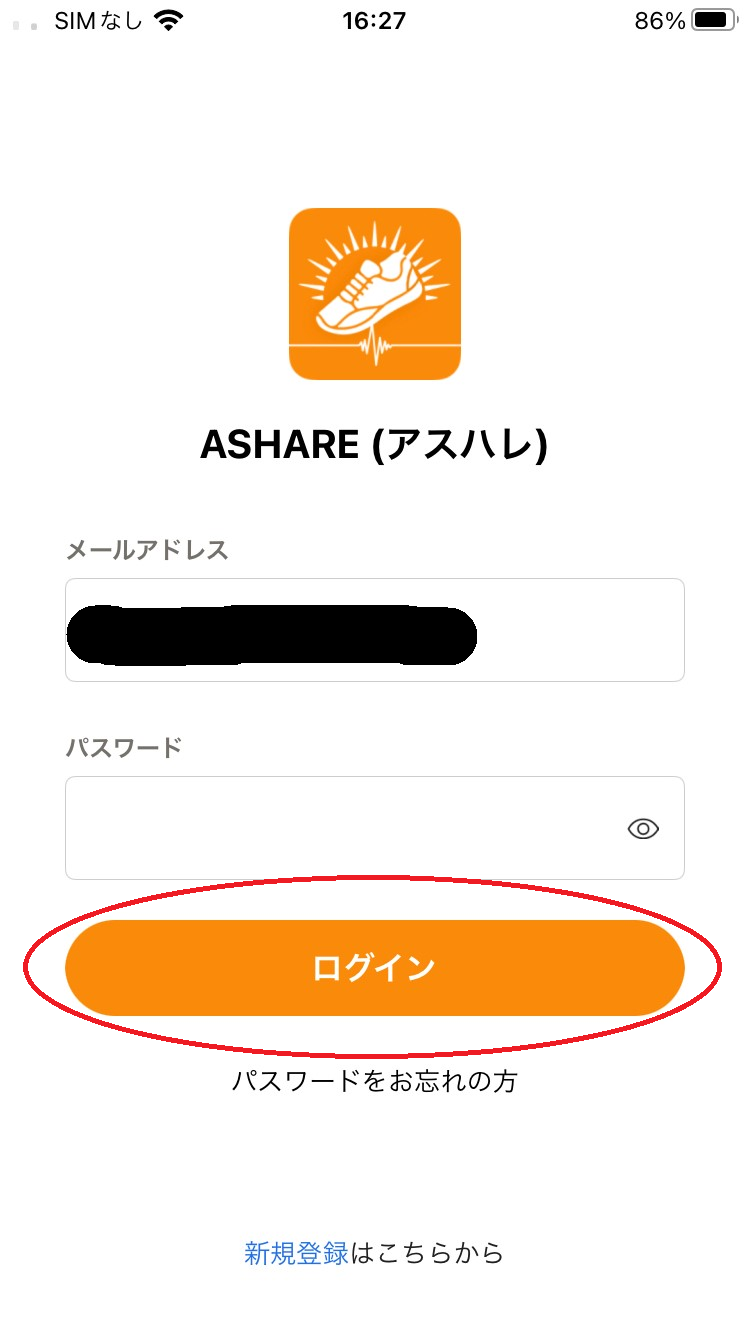
- Once verified, return to the ASHARE app, input your registered email address and password, and tap log in.
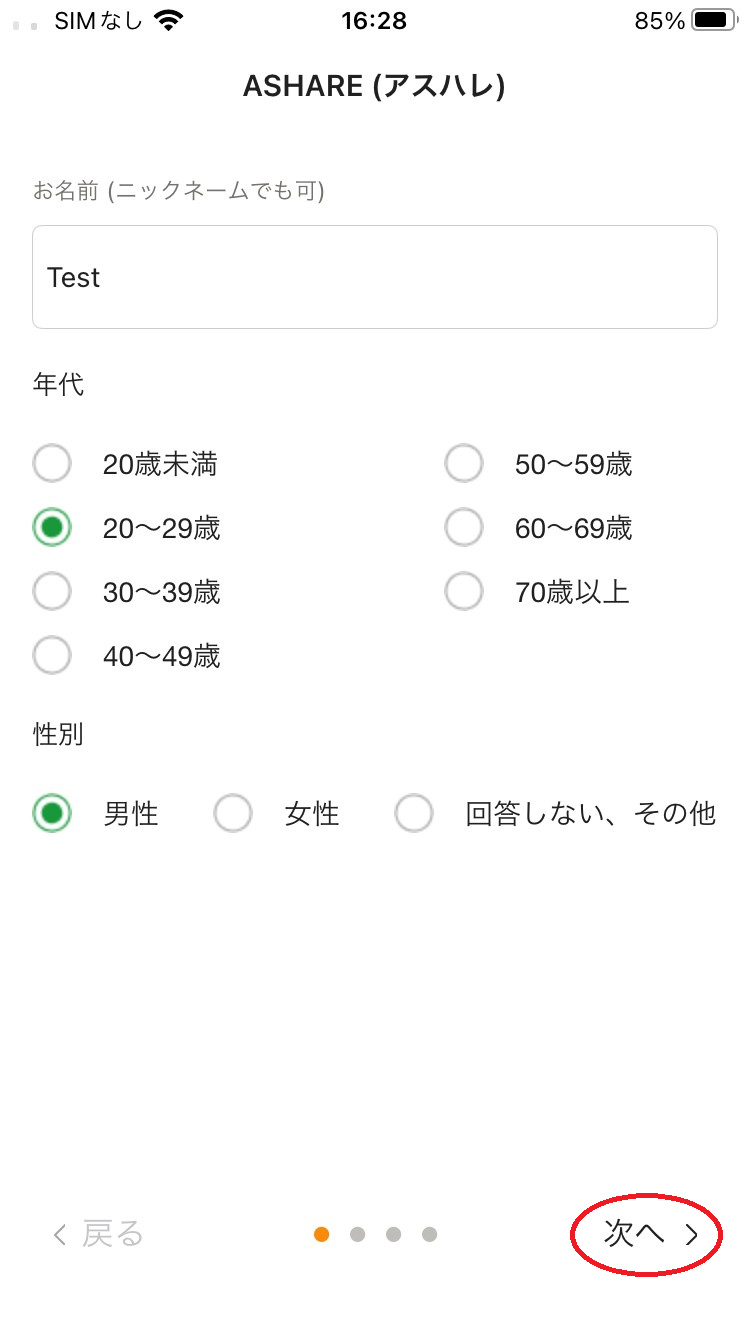
- Following login, input your profile details (name, age bracket, work status, etc.). The questionnaire spans 4 pages in total. Please complete all required items as they power our predictive models.
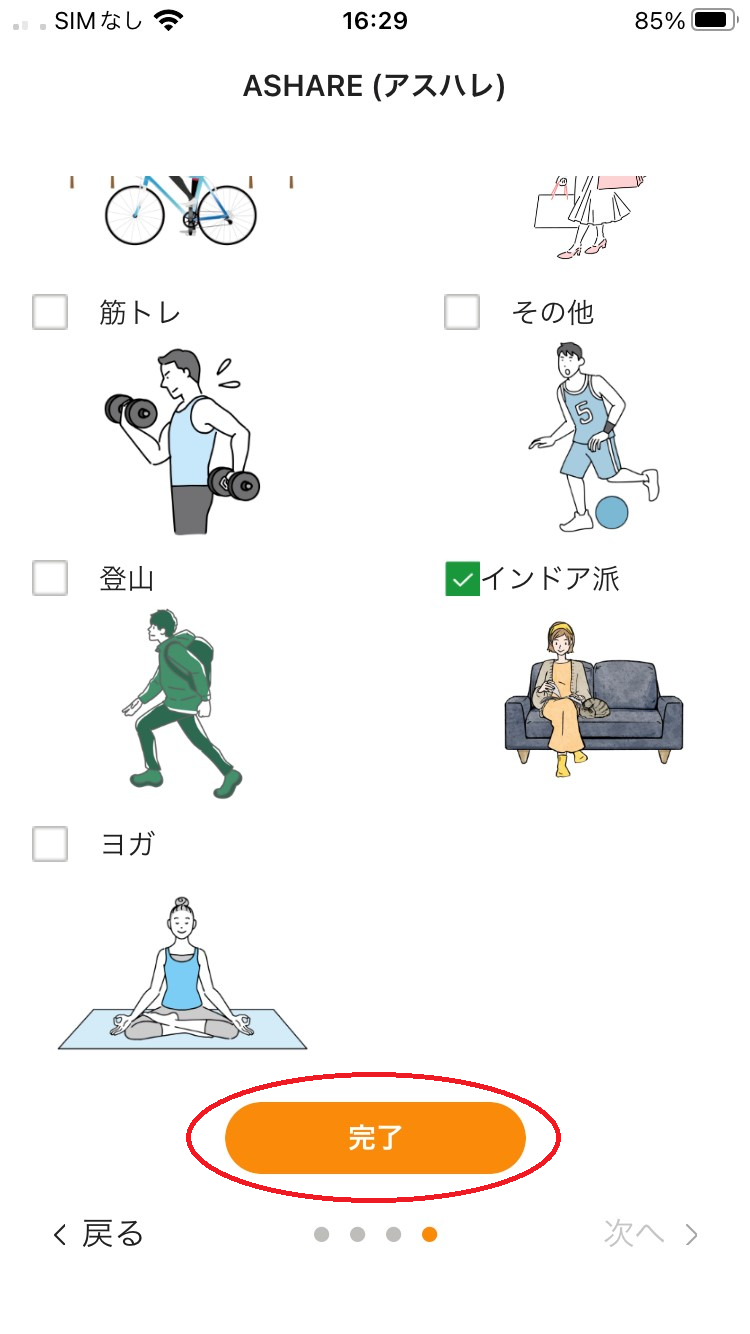
- Upon satisfying all required inputs, the submission button on page 4 will turn orange. Tap this button to initiate the introductory tutorial.
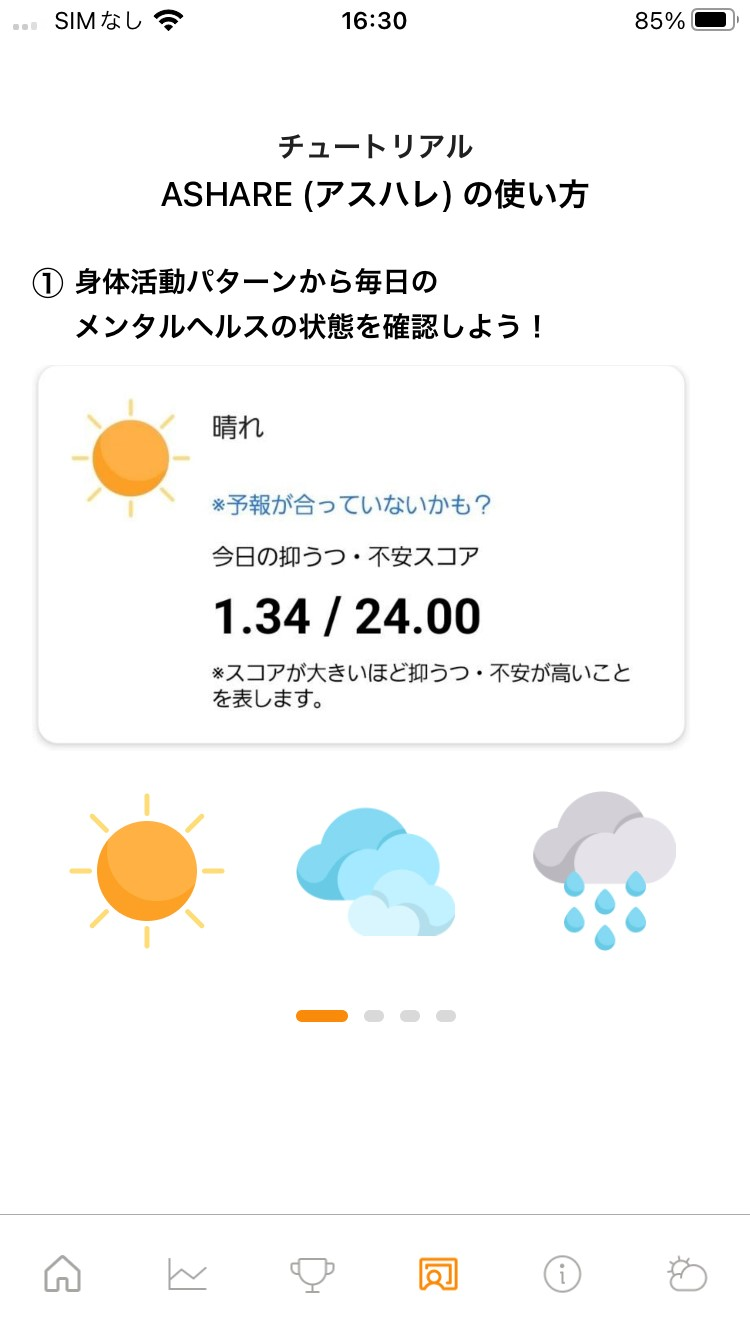
- The tutorial spans 4 pages. Review the slides and tap "Go to Top Screen" (トップ画面へ) at the conclusion.
Step 3: Linking ASHARE with Apple "Health"
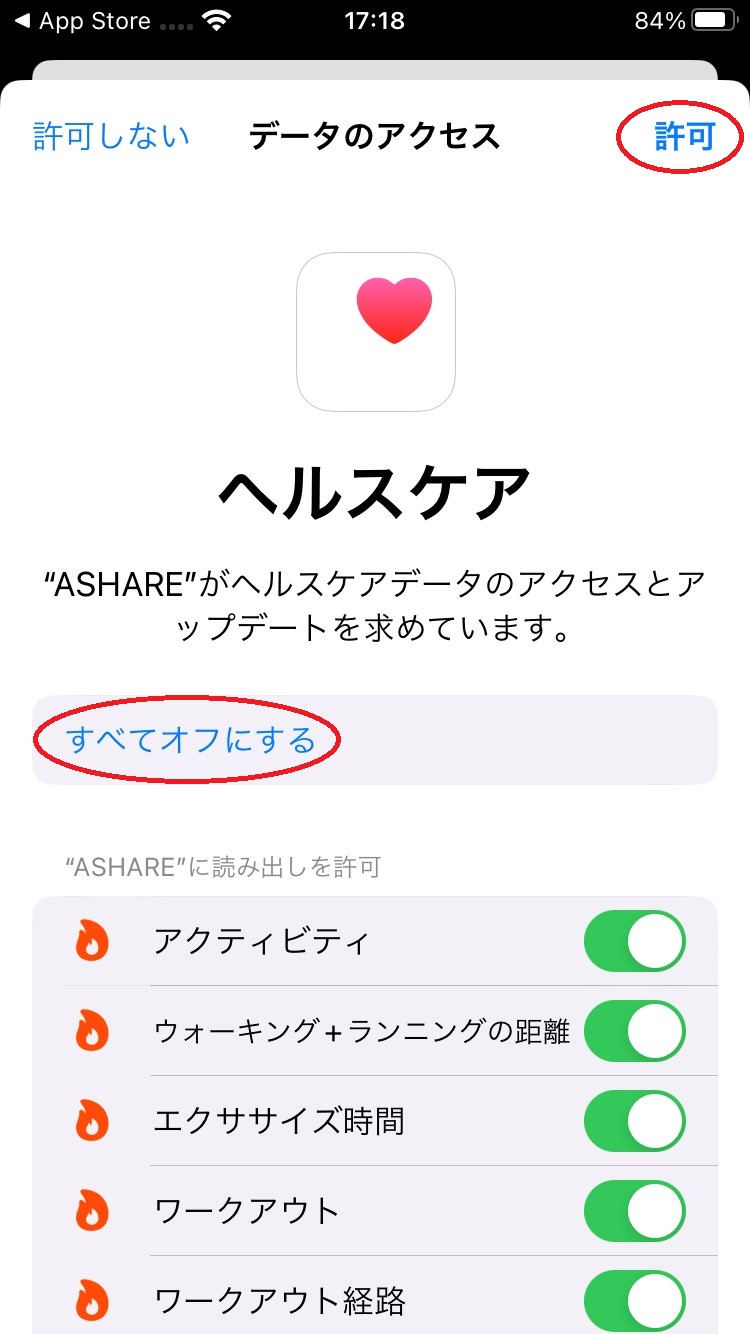
For iOS deployments, finishing the onboarding tutorial triggers an automated system prompt requesting tracking permissions for Apple "Health." Tap "Turn On All Categories" (すべてオンにする) and select "Allow" (許可) in the upper-right corner.
🤖 Android Version Setup
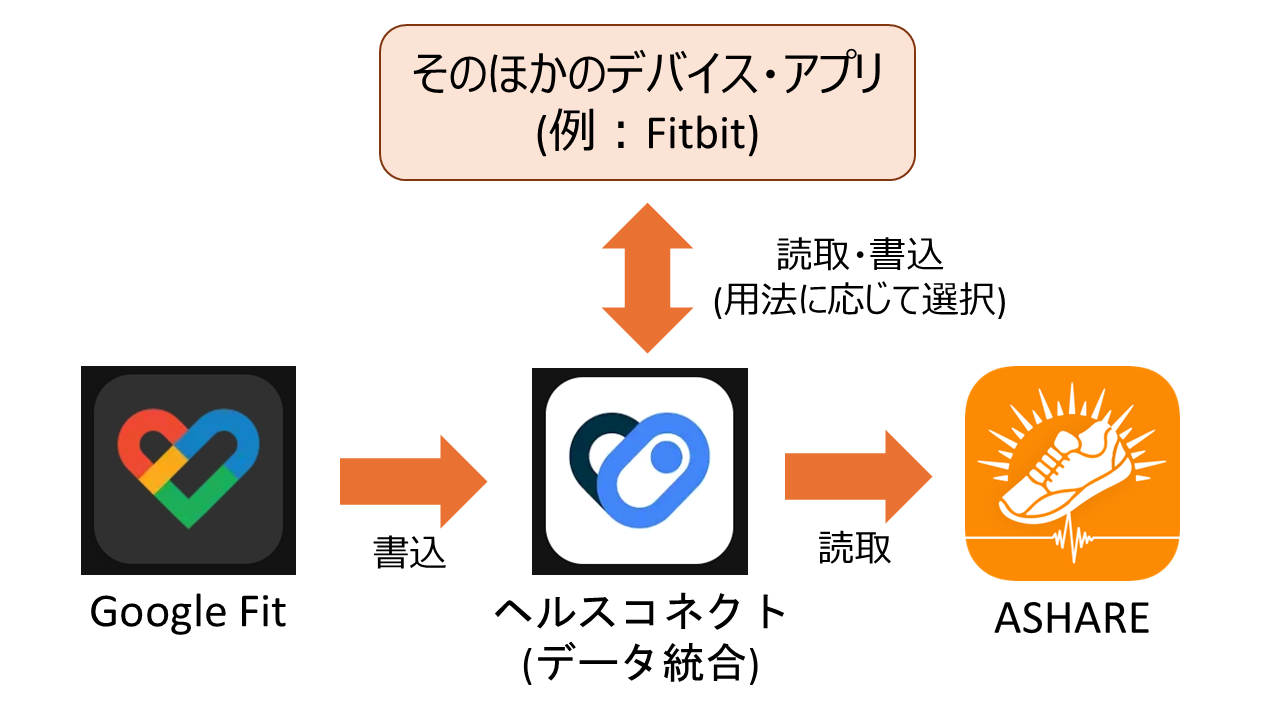
To use the Android version of ASHARE, you must install both Google's "Google Fit" and "Health Connect" on your device and configure data integration to share physical activity metrics.
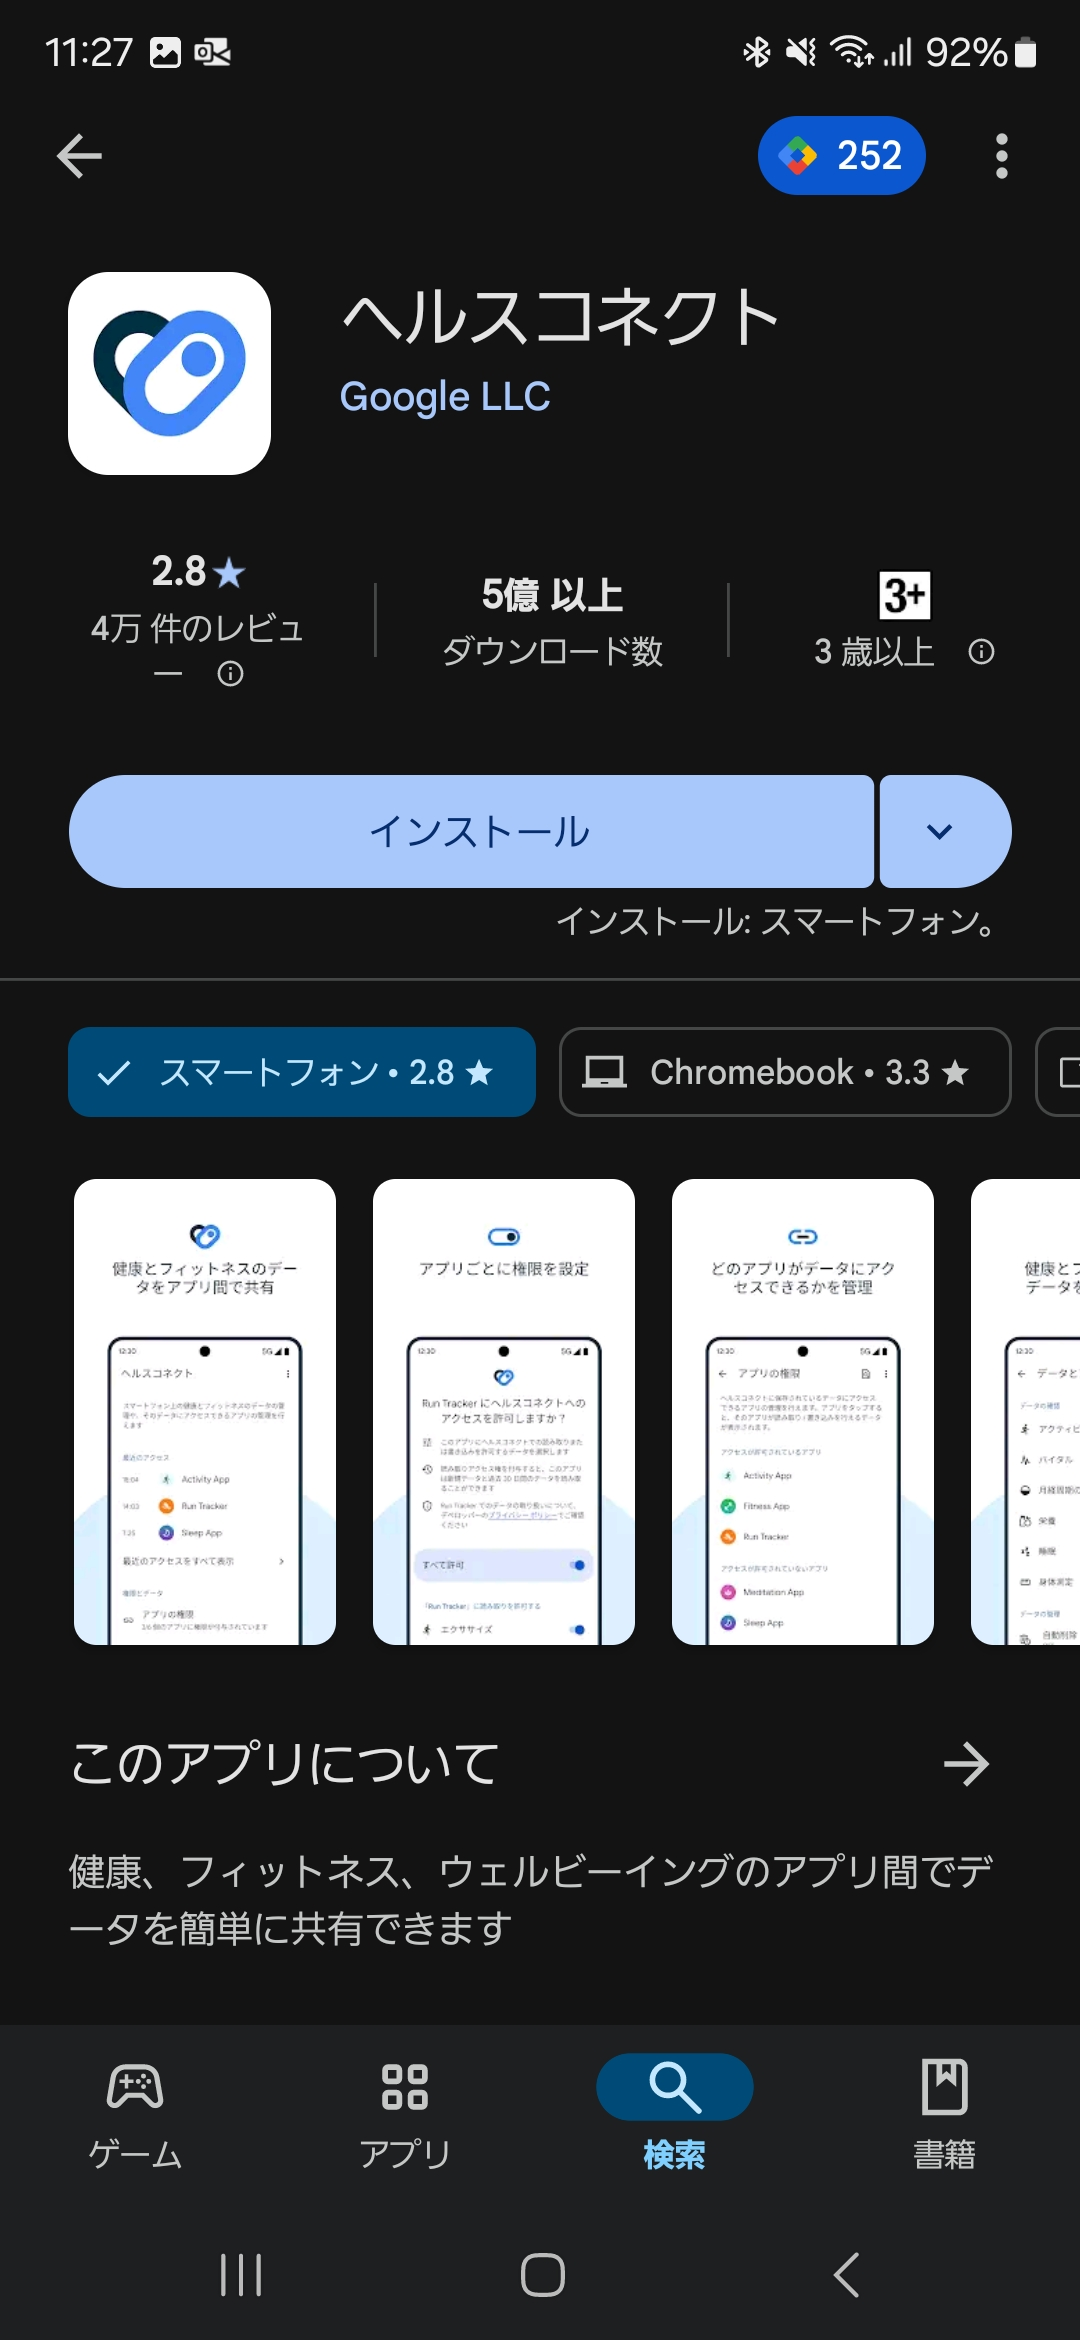
Step 1: Installing "Google Fit", "Health Connect", and "ASHARE"
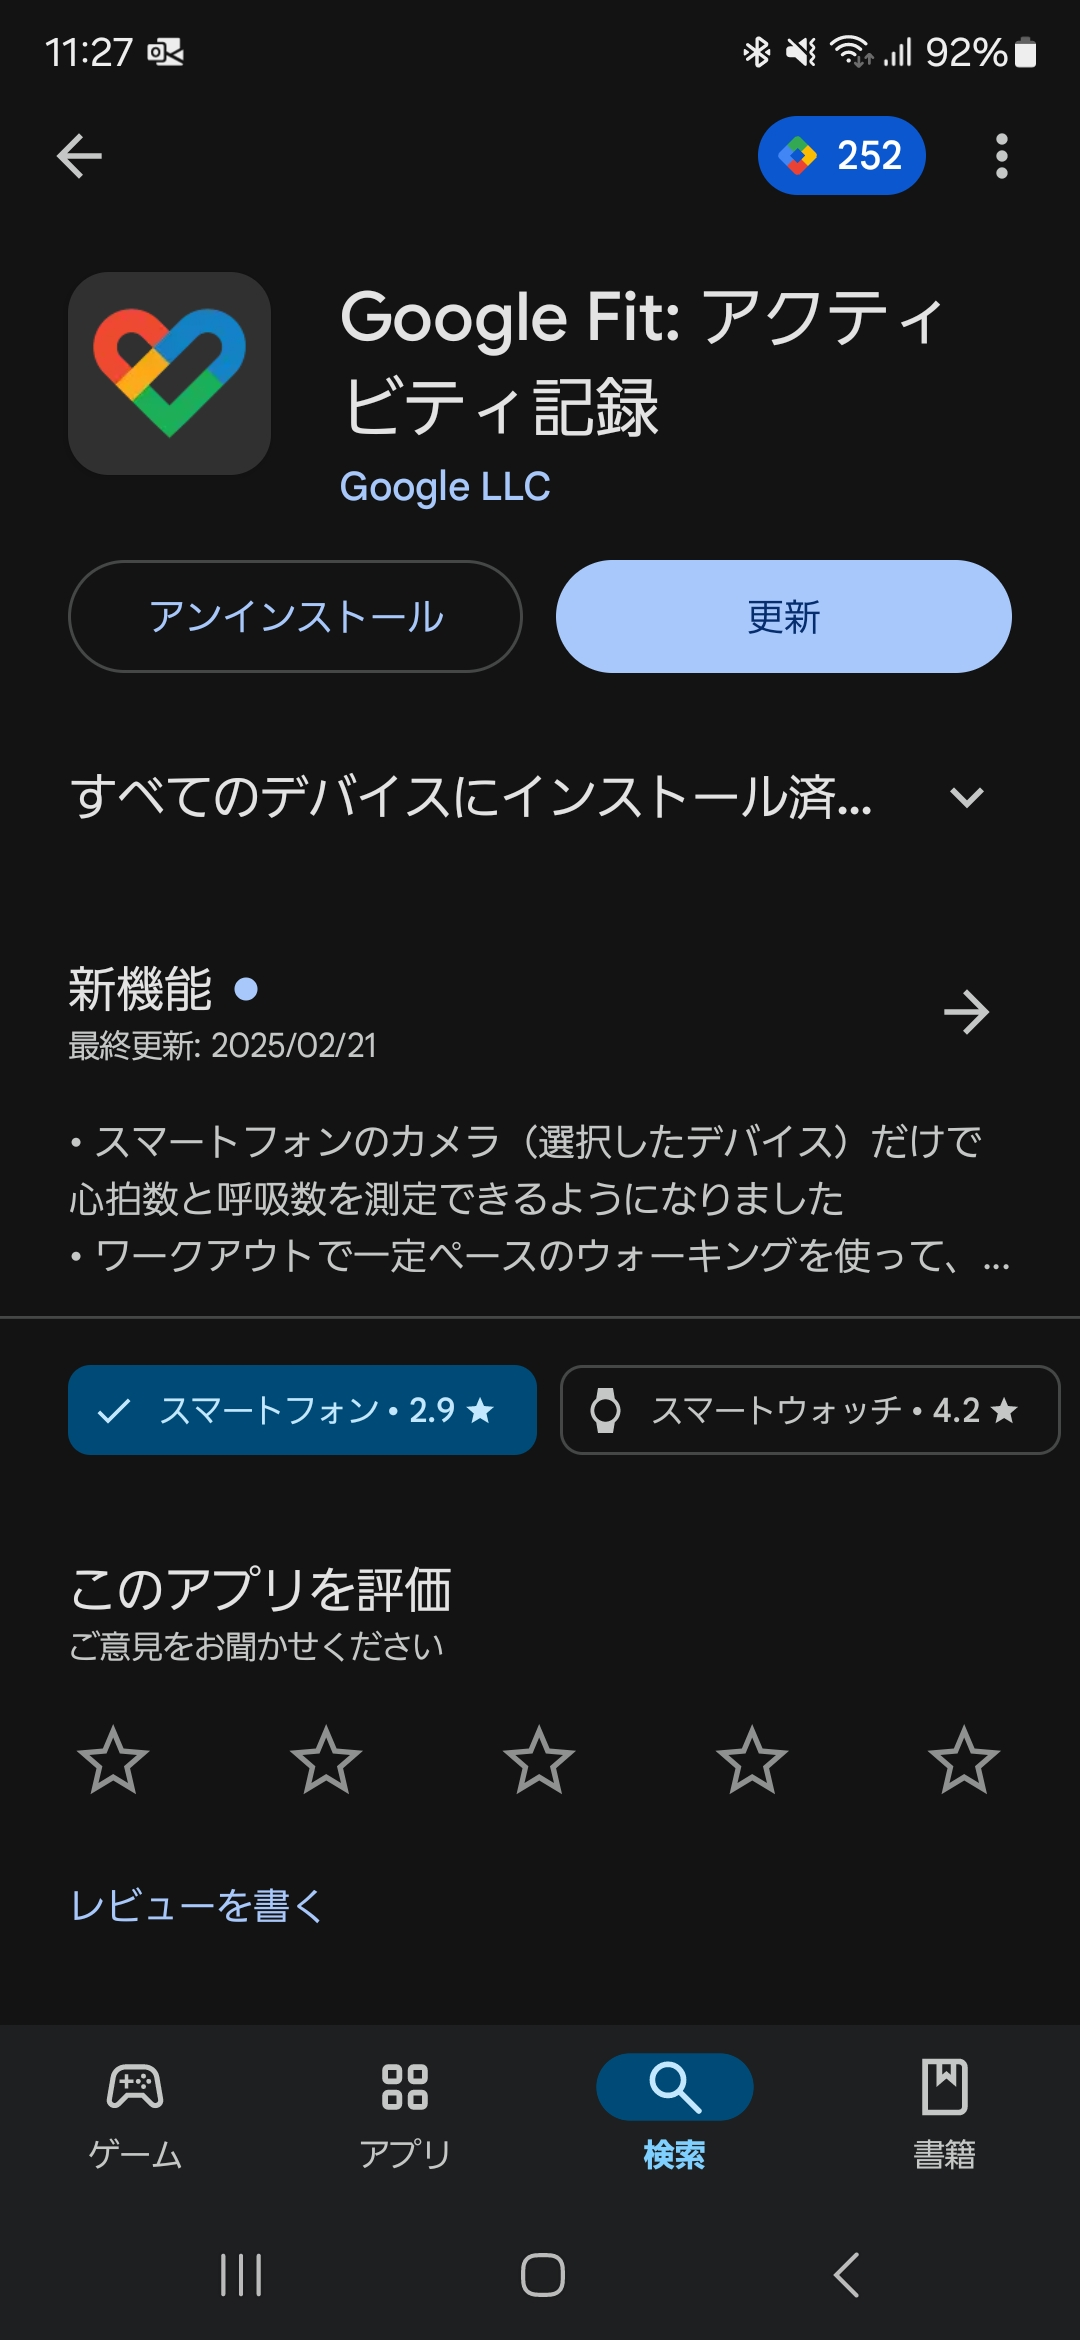
- "Google Fit" and "Health Connect" may come pre-installed depending on your smartphone model. If missing, open Google Play, search for both "Google Fit" and "Health Connect," and download them.
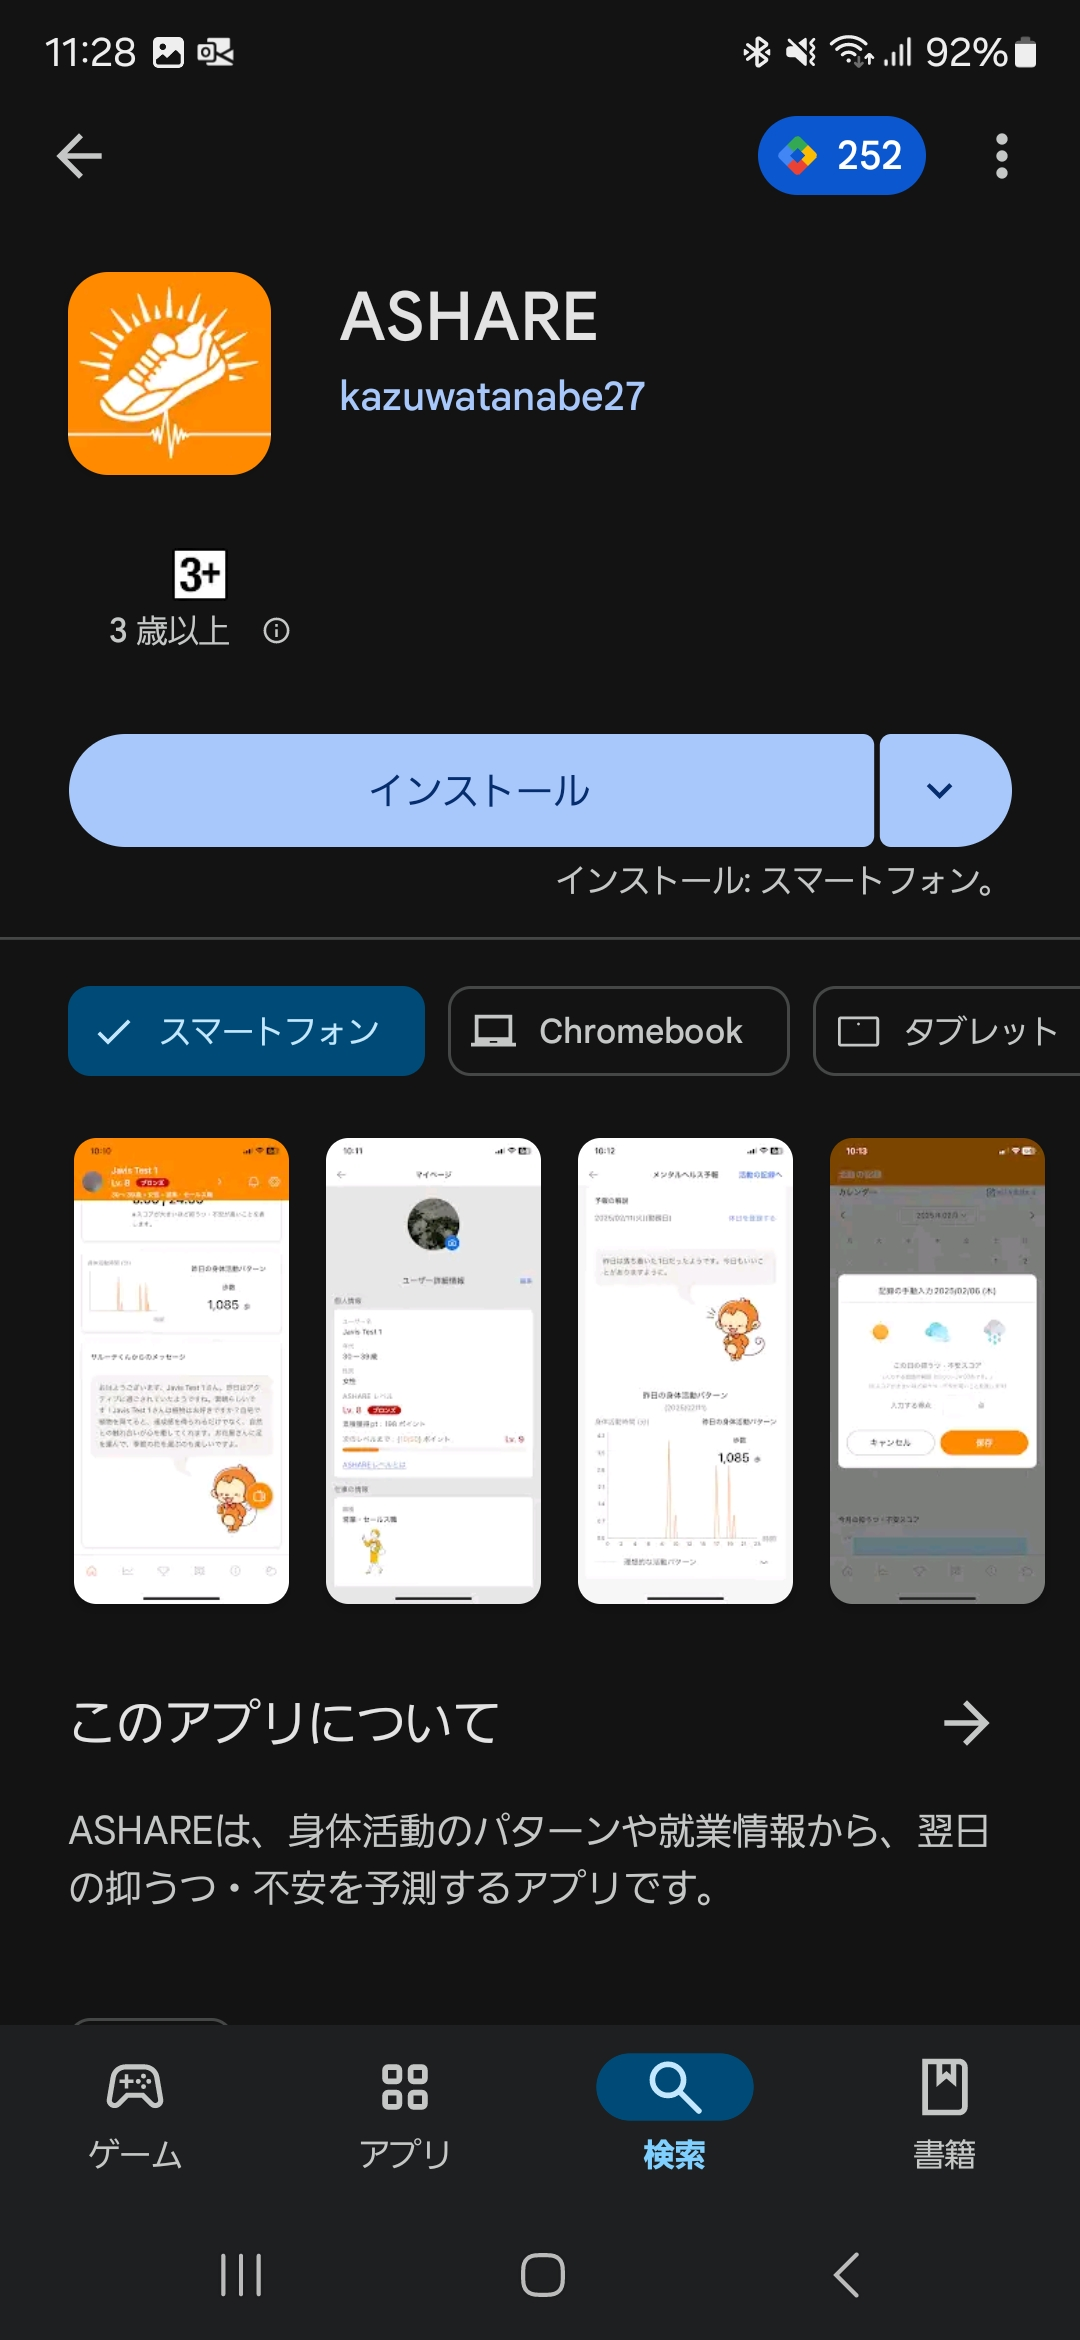
- Once these components are deployed, search for "ASHARE" on the Google Play Store and install the application.
*All three applications are completely free to install and use.
Step 2: Configuring "Google Fit"
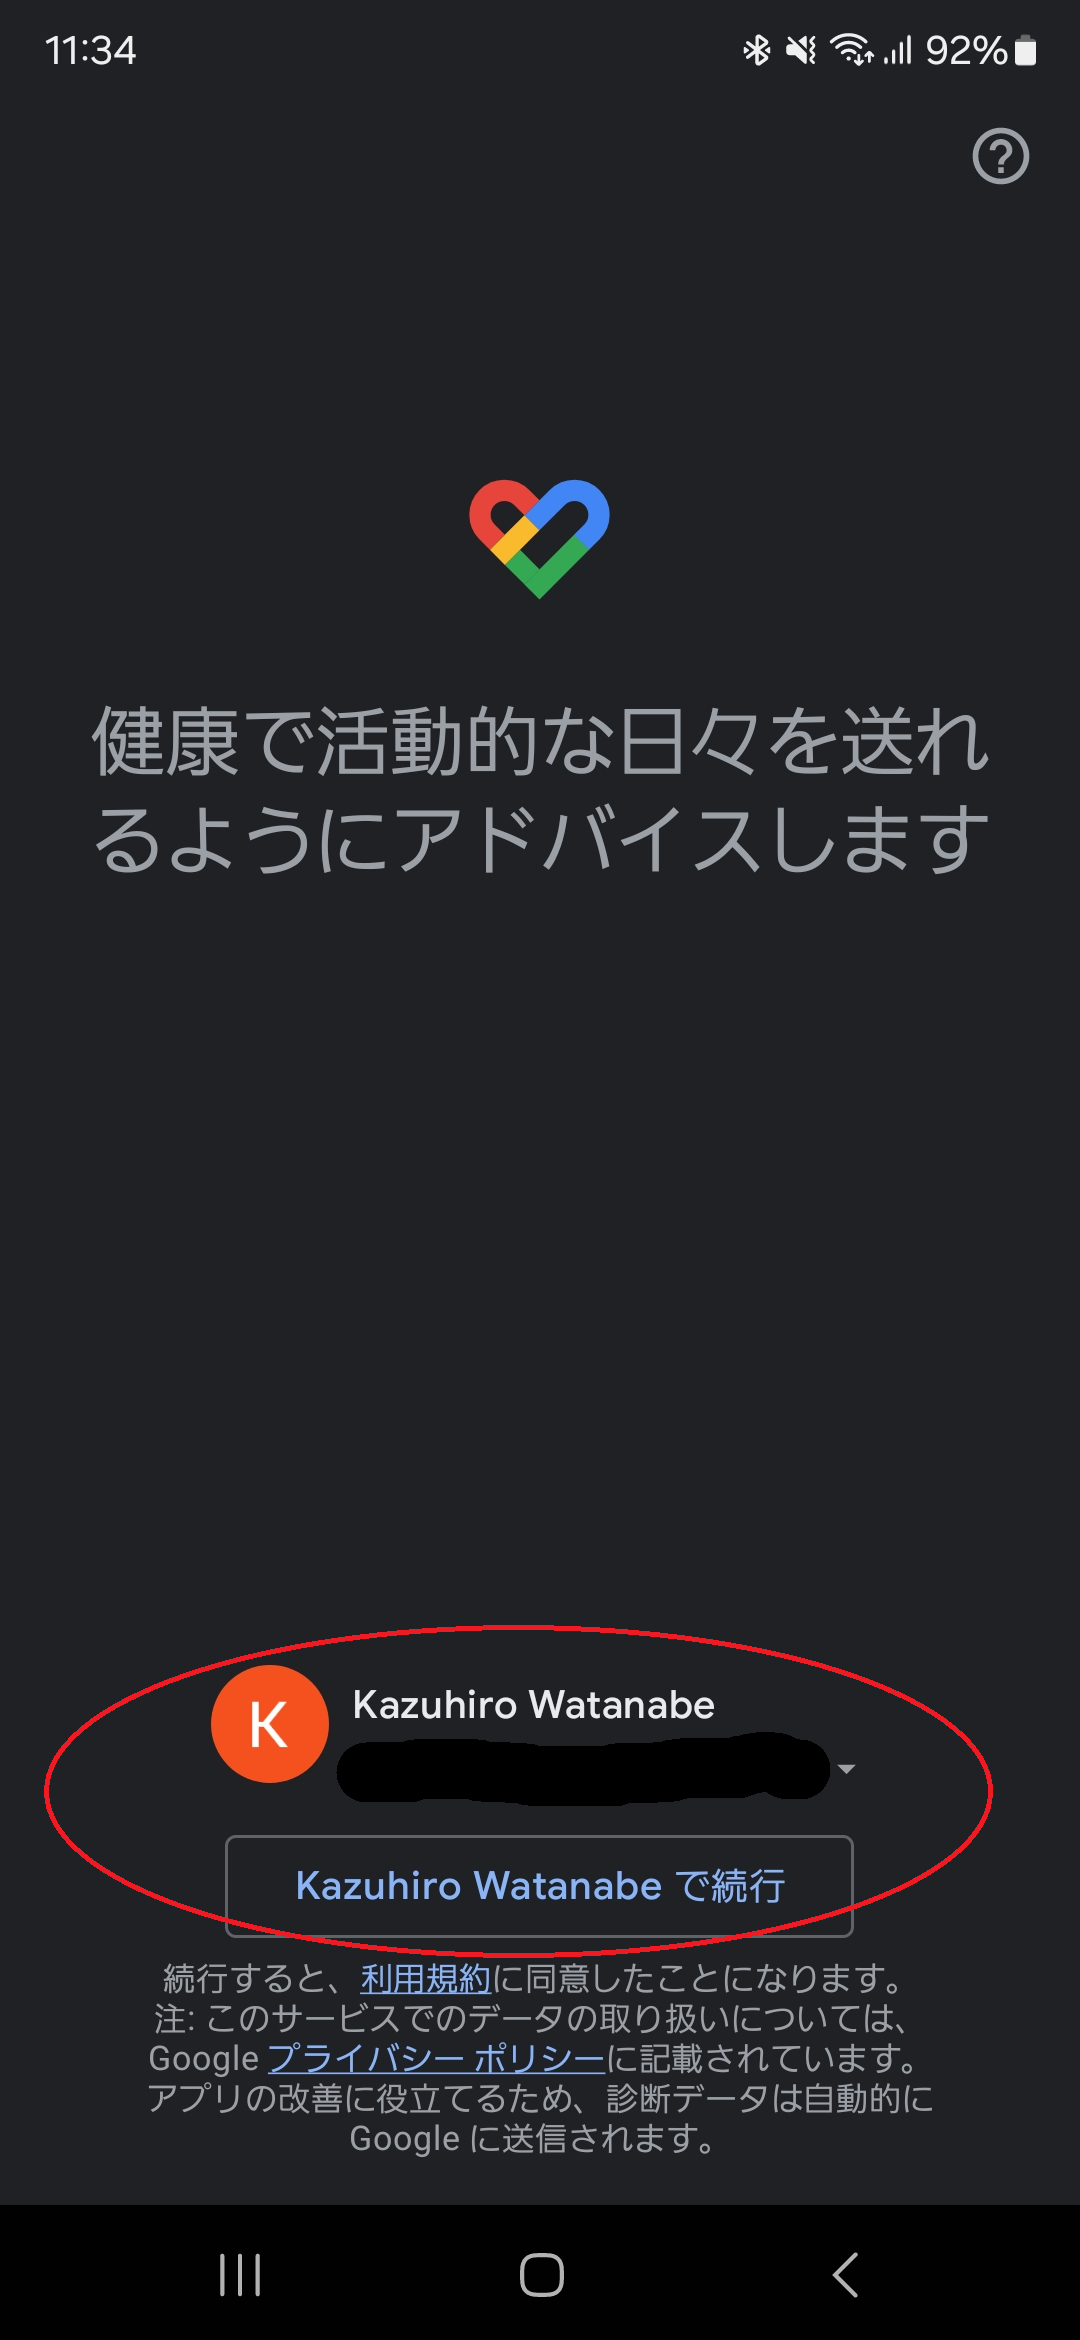
- Select the active Google account you wish to utilize for health metric logging. If you do not possess one, please create a new Google account.
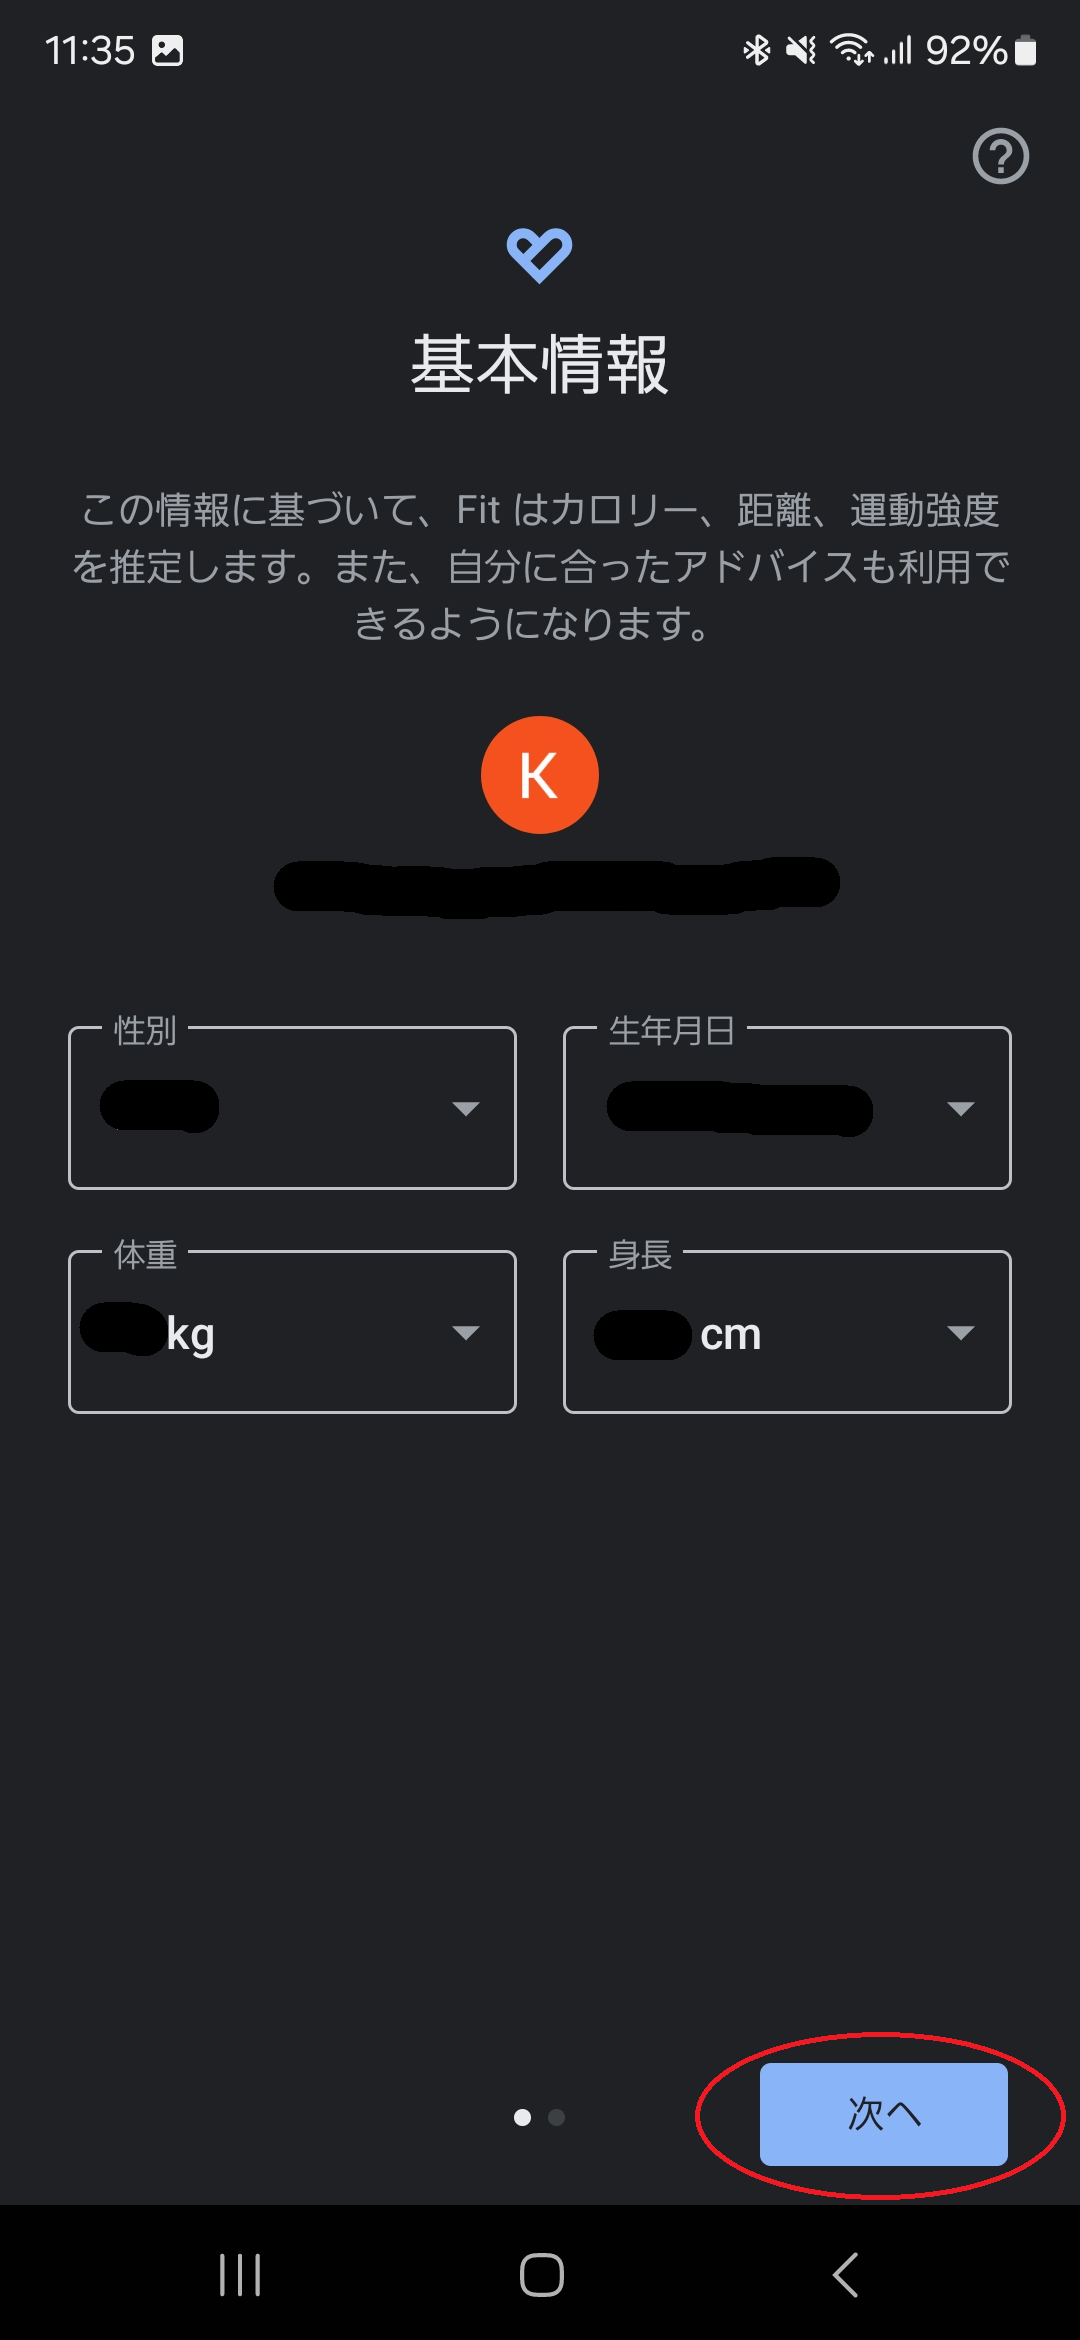
- Input your profile metrics, including biological sex, date of birth, weight, and height.
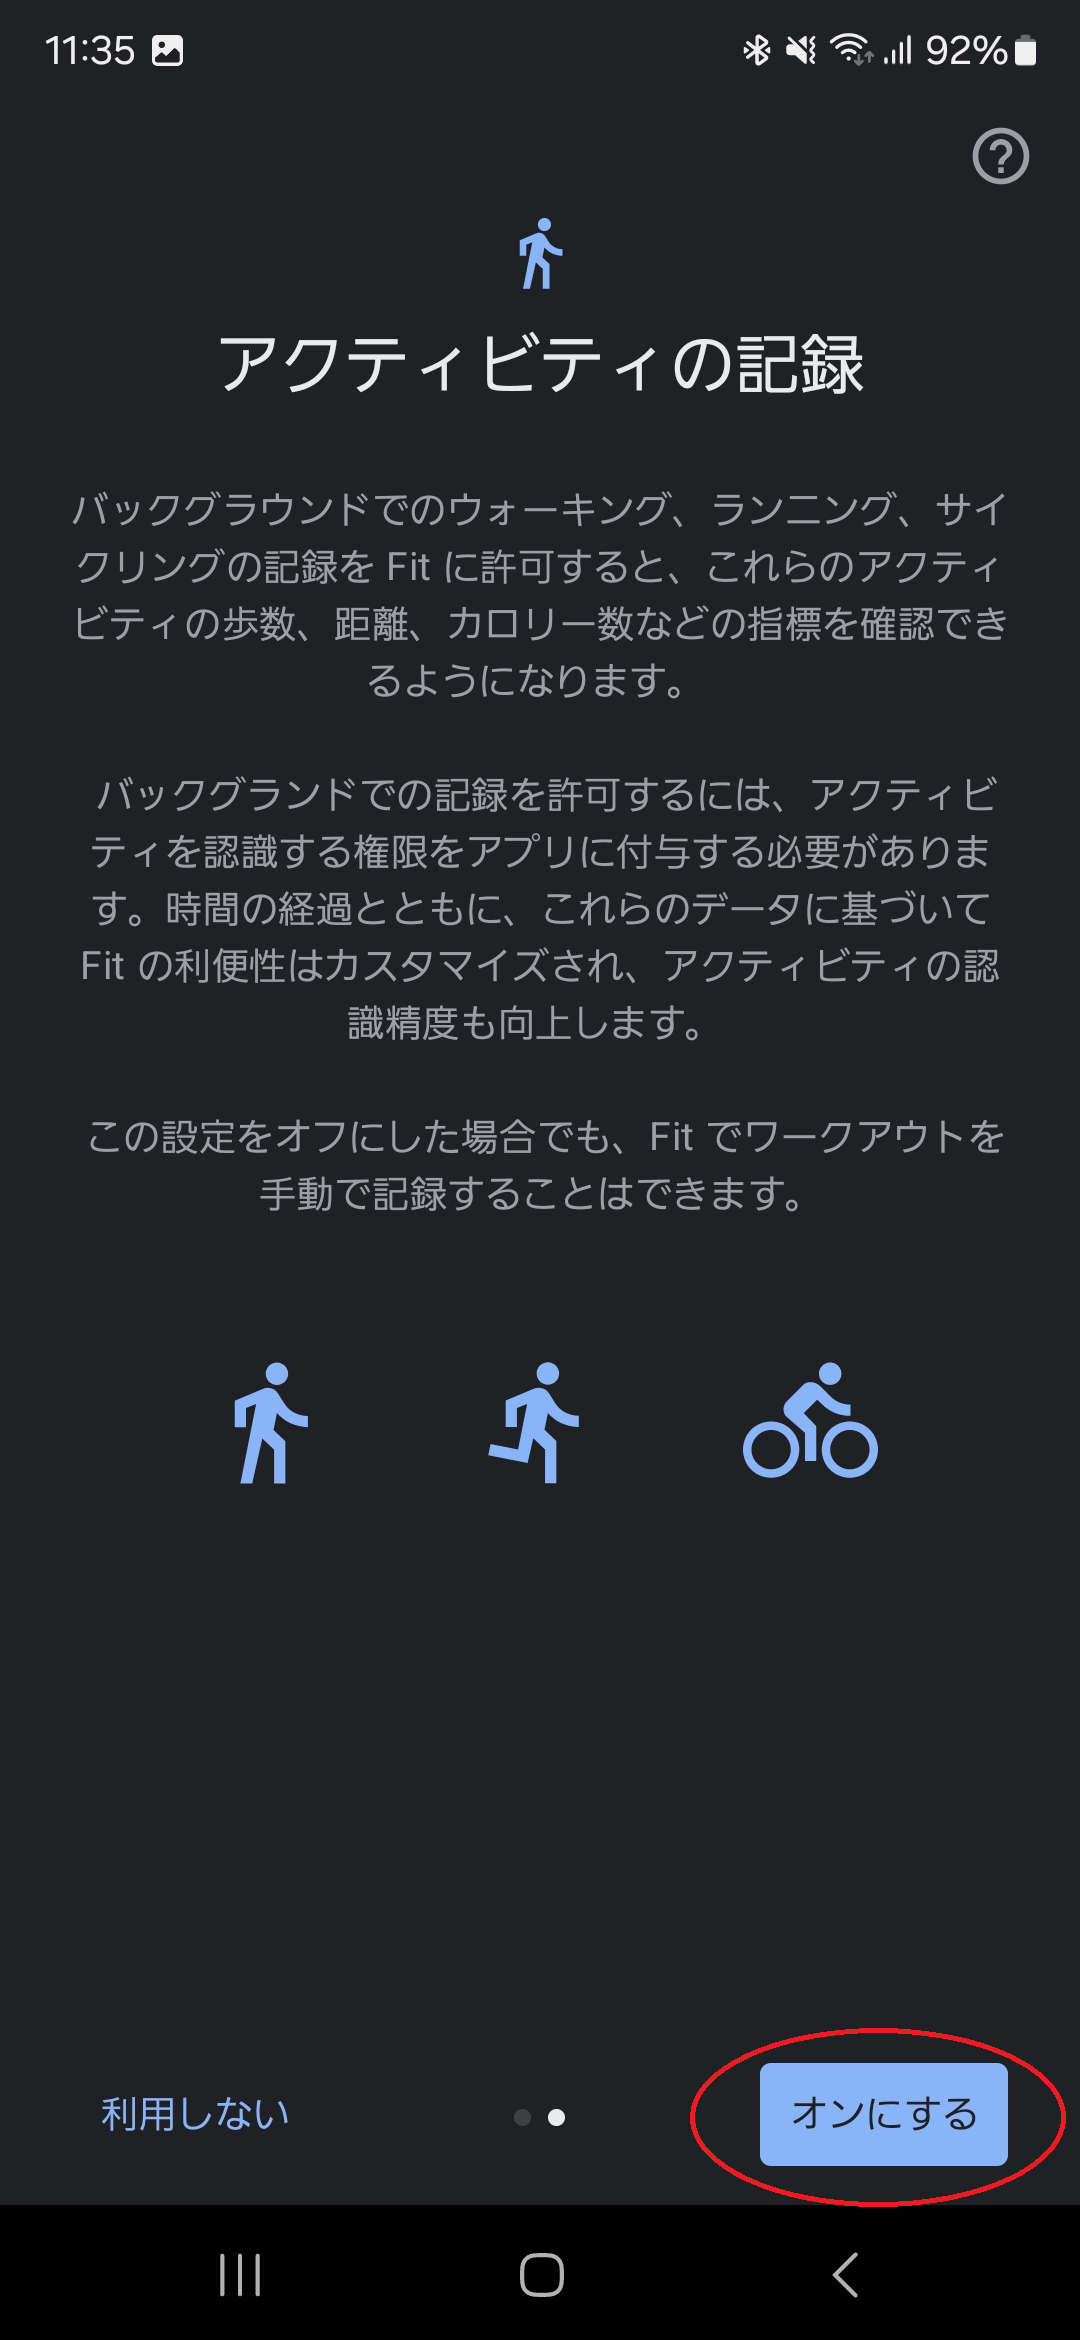
- On the "Track your activities" screen, select "Turn on" (オンにする).
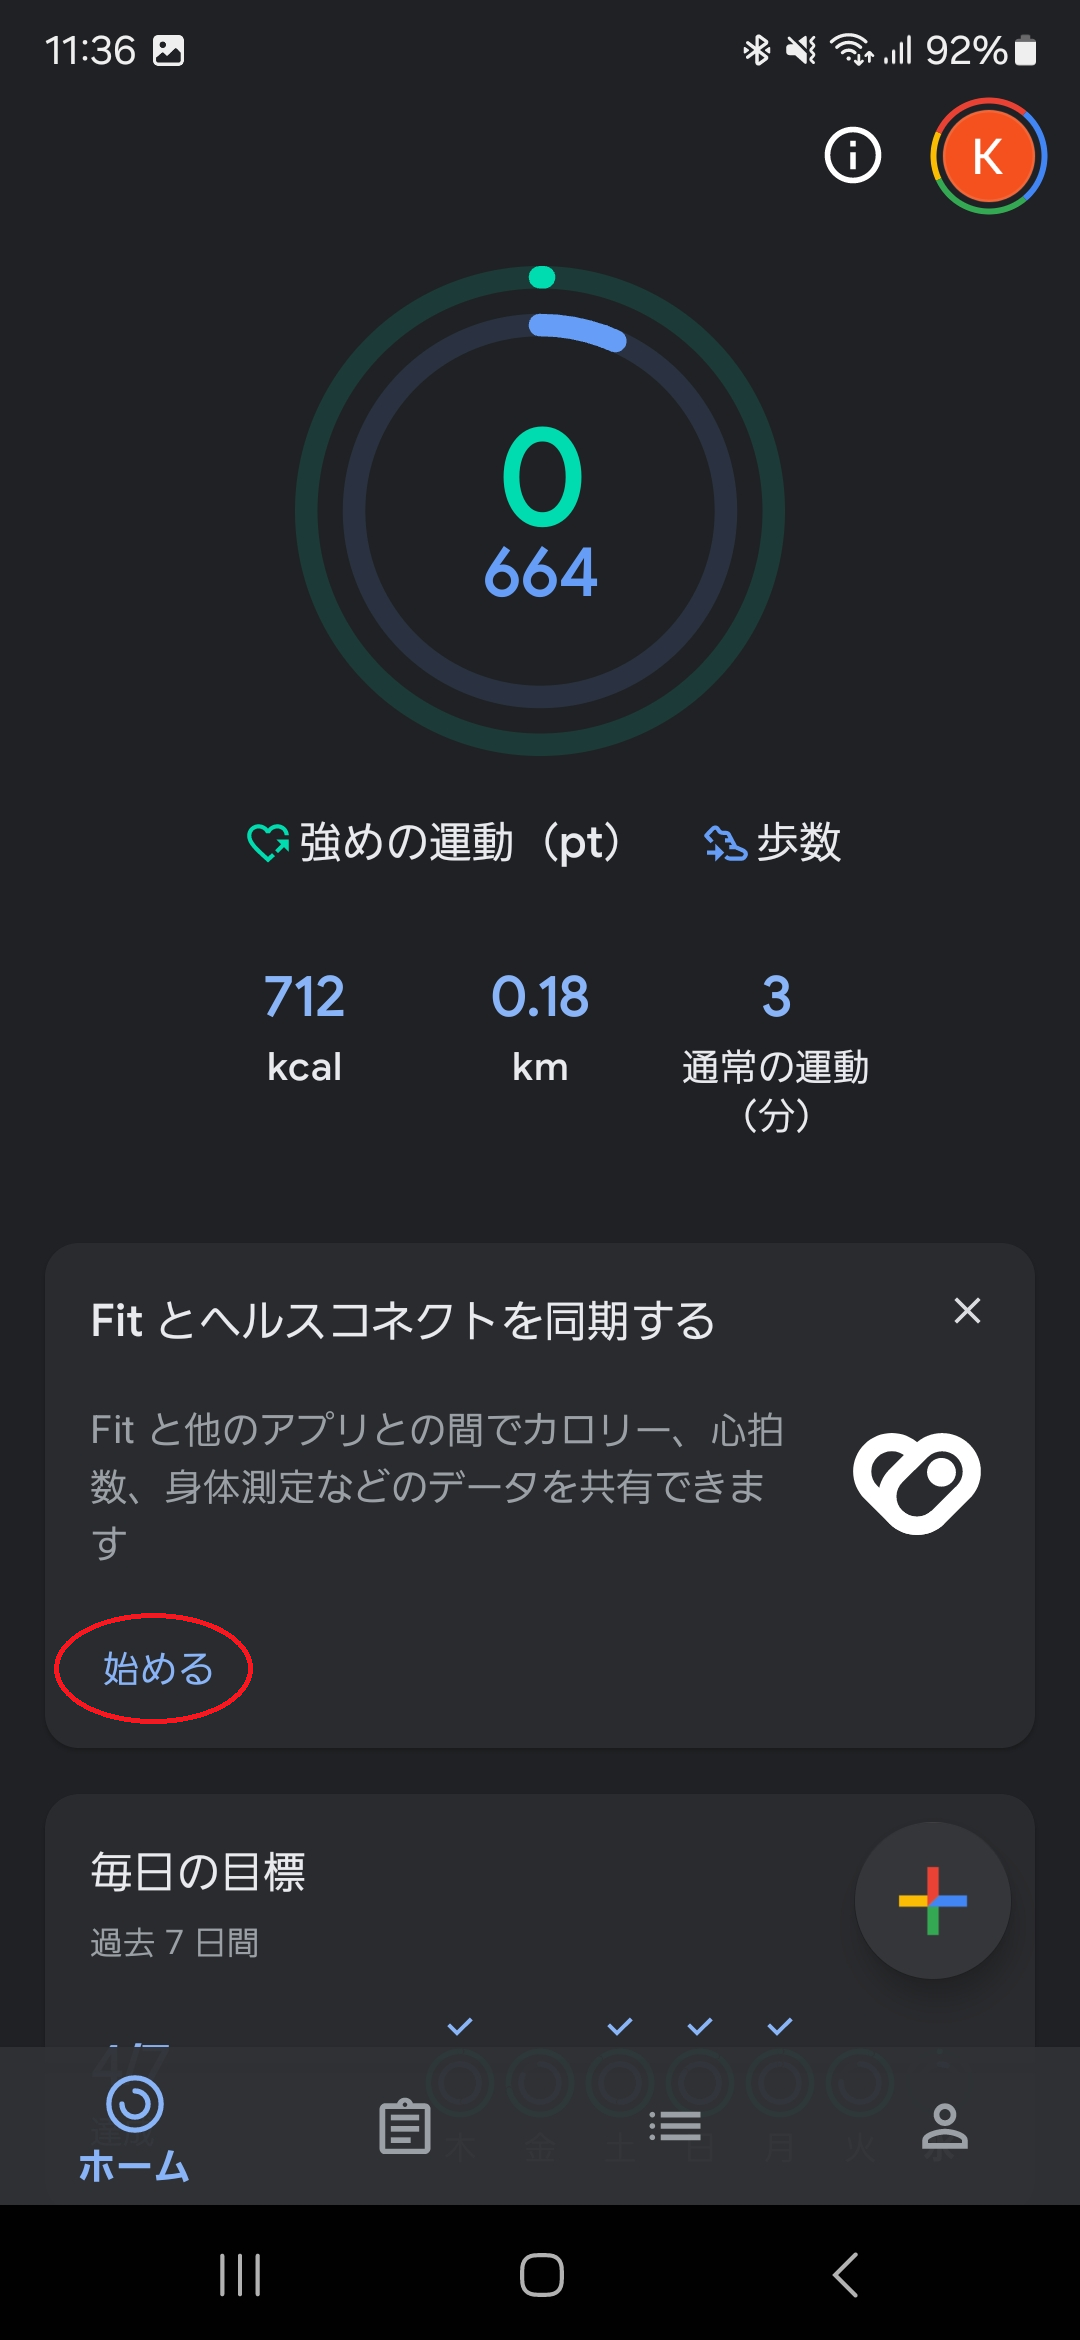
- Scroll down slightly in the Google Fit settings dashboard, locate "Sync Fit with Health Connect", and tap "Get started" (始める).
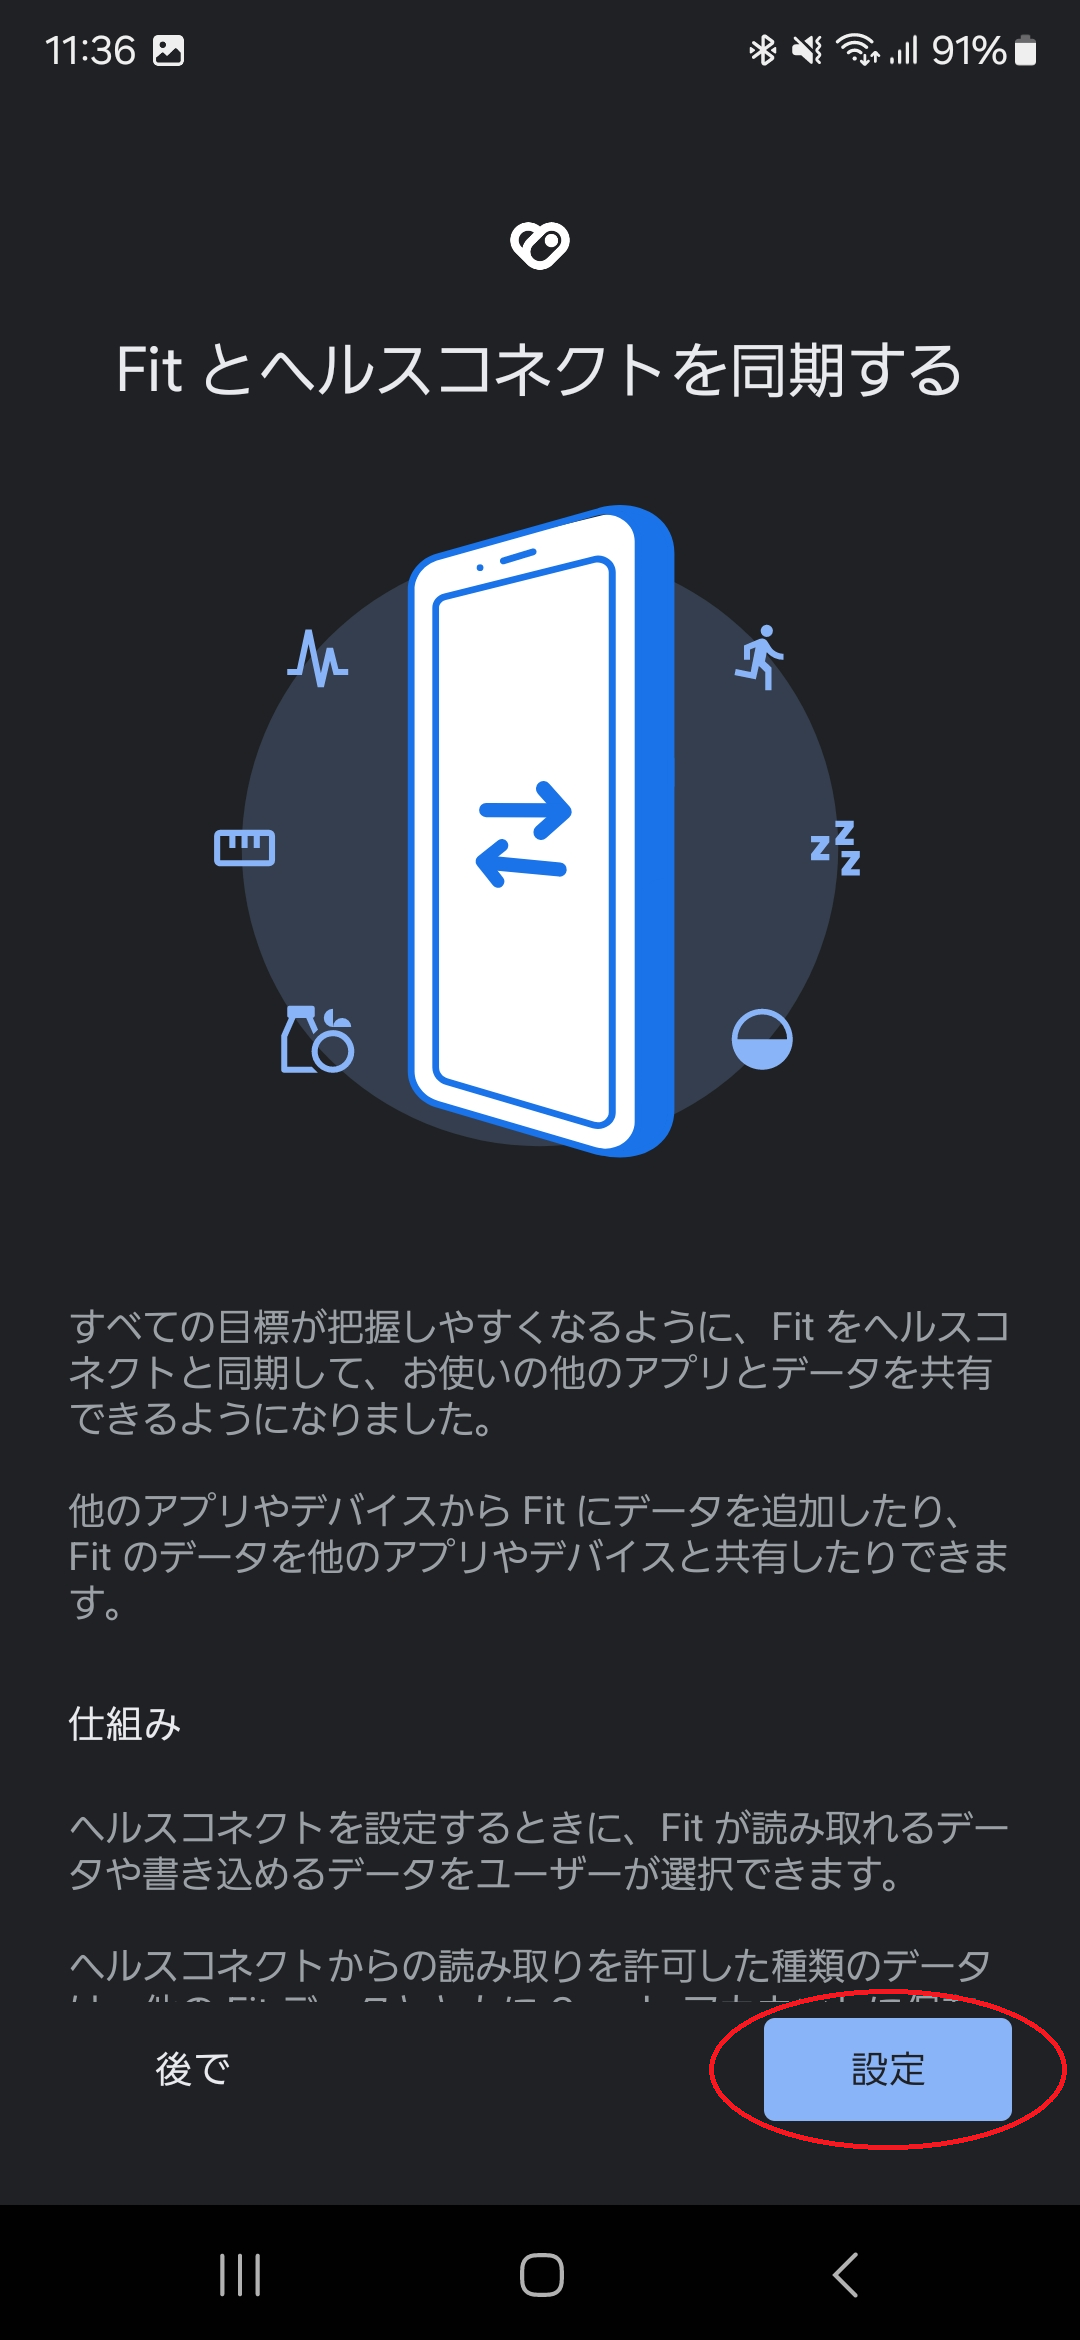
- Tap "Set up" (設定) on the confirmation prompt.
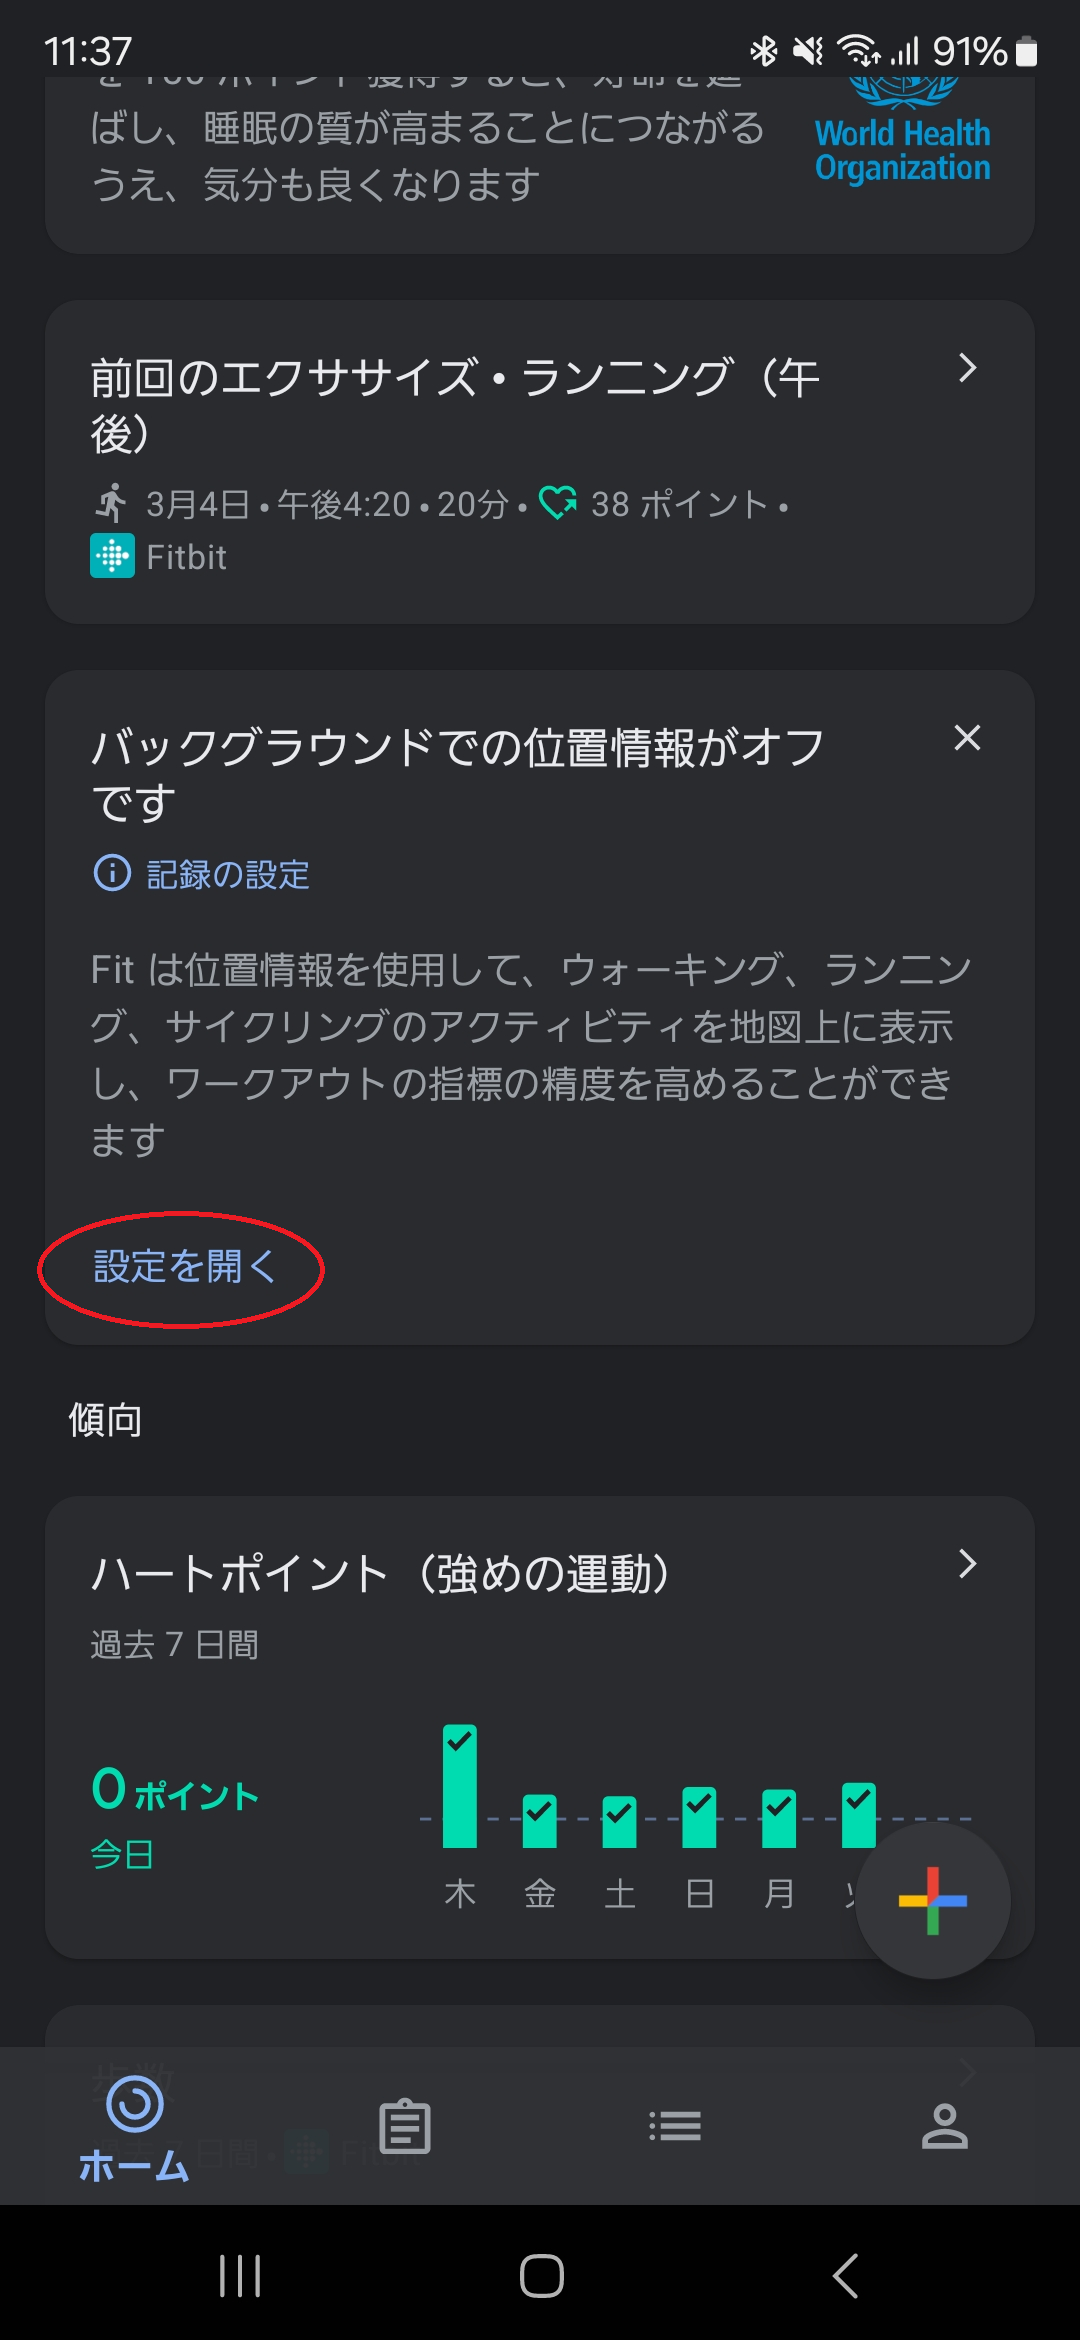
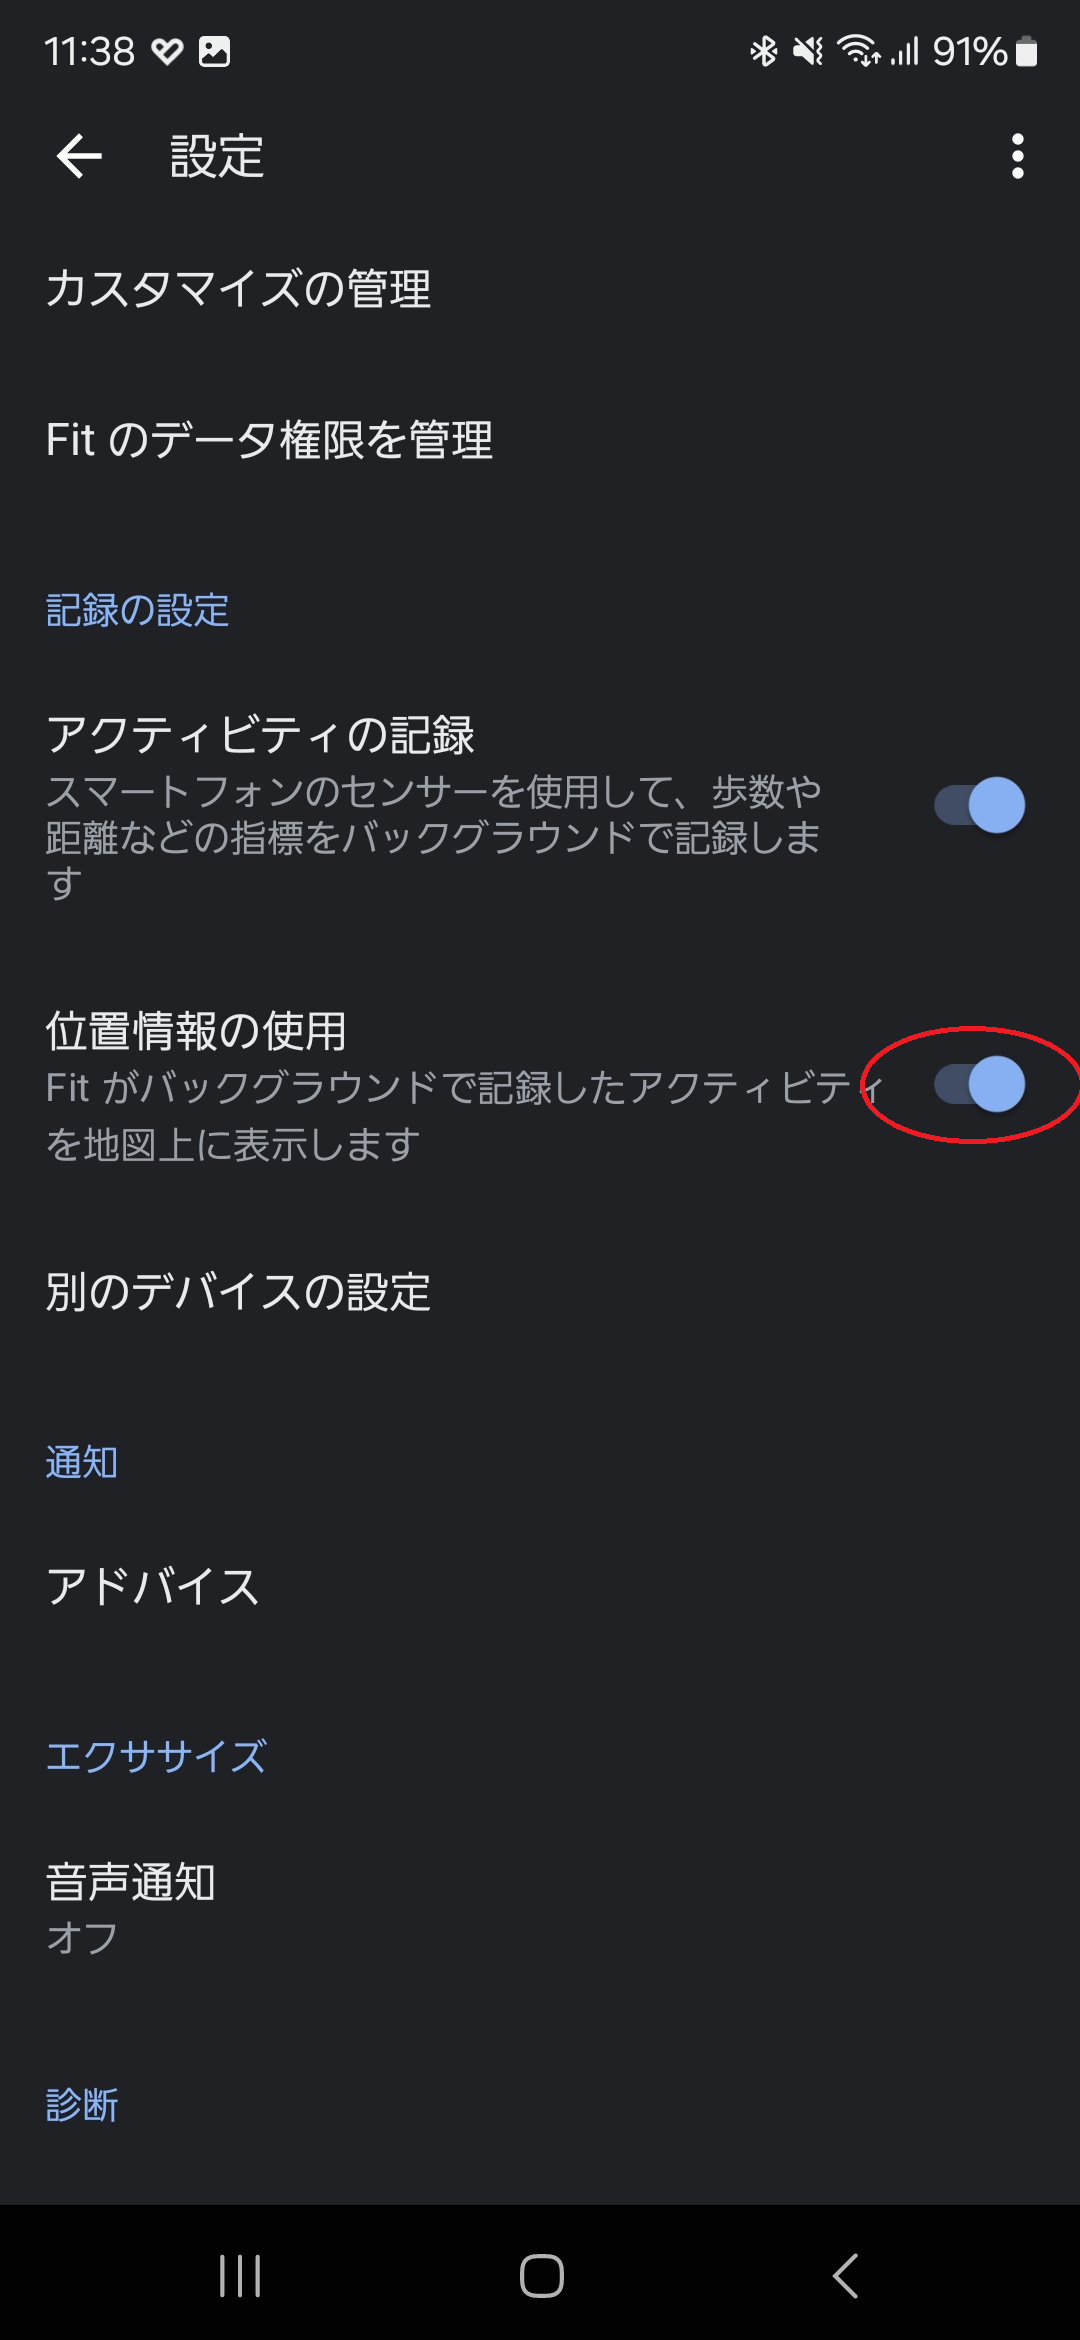
- On the primary dashboard view, if an alert states "Background location is off", tap "Open Settings" (設定を開く).
- Toggle the "Use location" permission switch to ON.
Step 3: ASHARE User Registration
- Tap "Sign Up" (新規登録) to set up your account email address and password. We recommend using an email address that is easily accessible from your smartphone.
- A verification email will be dispatched to your address from
ashareservice@gmail.com. Please check your junk or spam folder if it does not appear in your inbox. - Locate the verification link at the bottom of the email and tap it. A green confirmation screen signifies successful account verification (you may close that browser screen safely).
- Once verified, return to the ASHARE app, input your registered email address and password, and tap log in.
- Following login, input your profile details (name, age bracket, work status, etc.). The questionnaire spans 4 pages in total. Please complete all required items as they power our predictive models.
- Upon satisfying all required inputs, the submission button on page 4 will turn orange. Tap this button to initiate the introductory tutorial.
- The tutorial spans 4 pages. Review the slides and tap "Go to Top Screen" (トップ画面へ) at the conclusion.
Step 4: Linking ASHARE with "Health Connect"
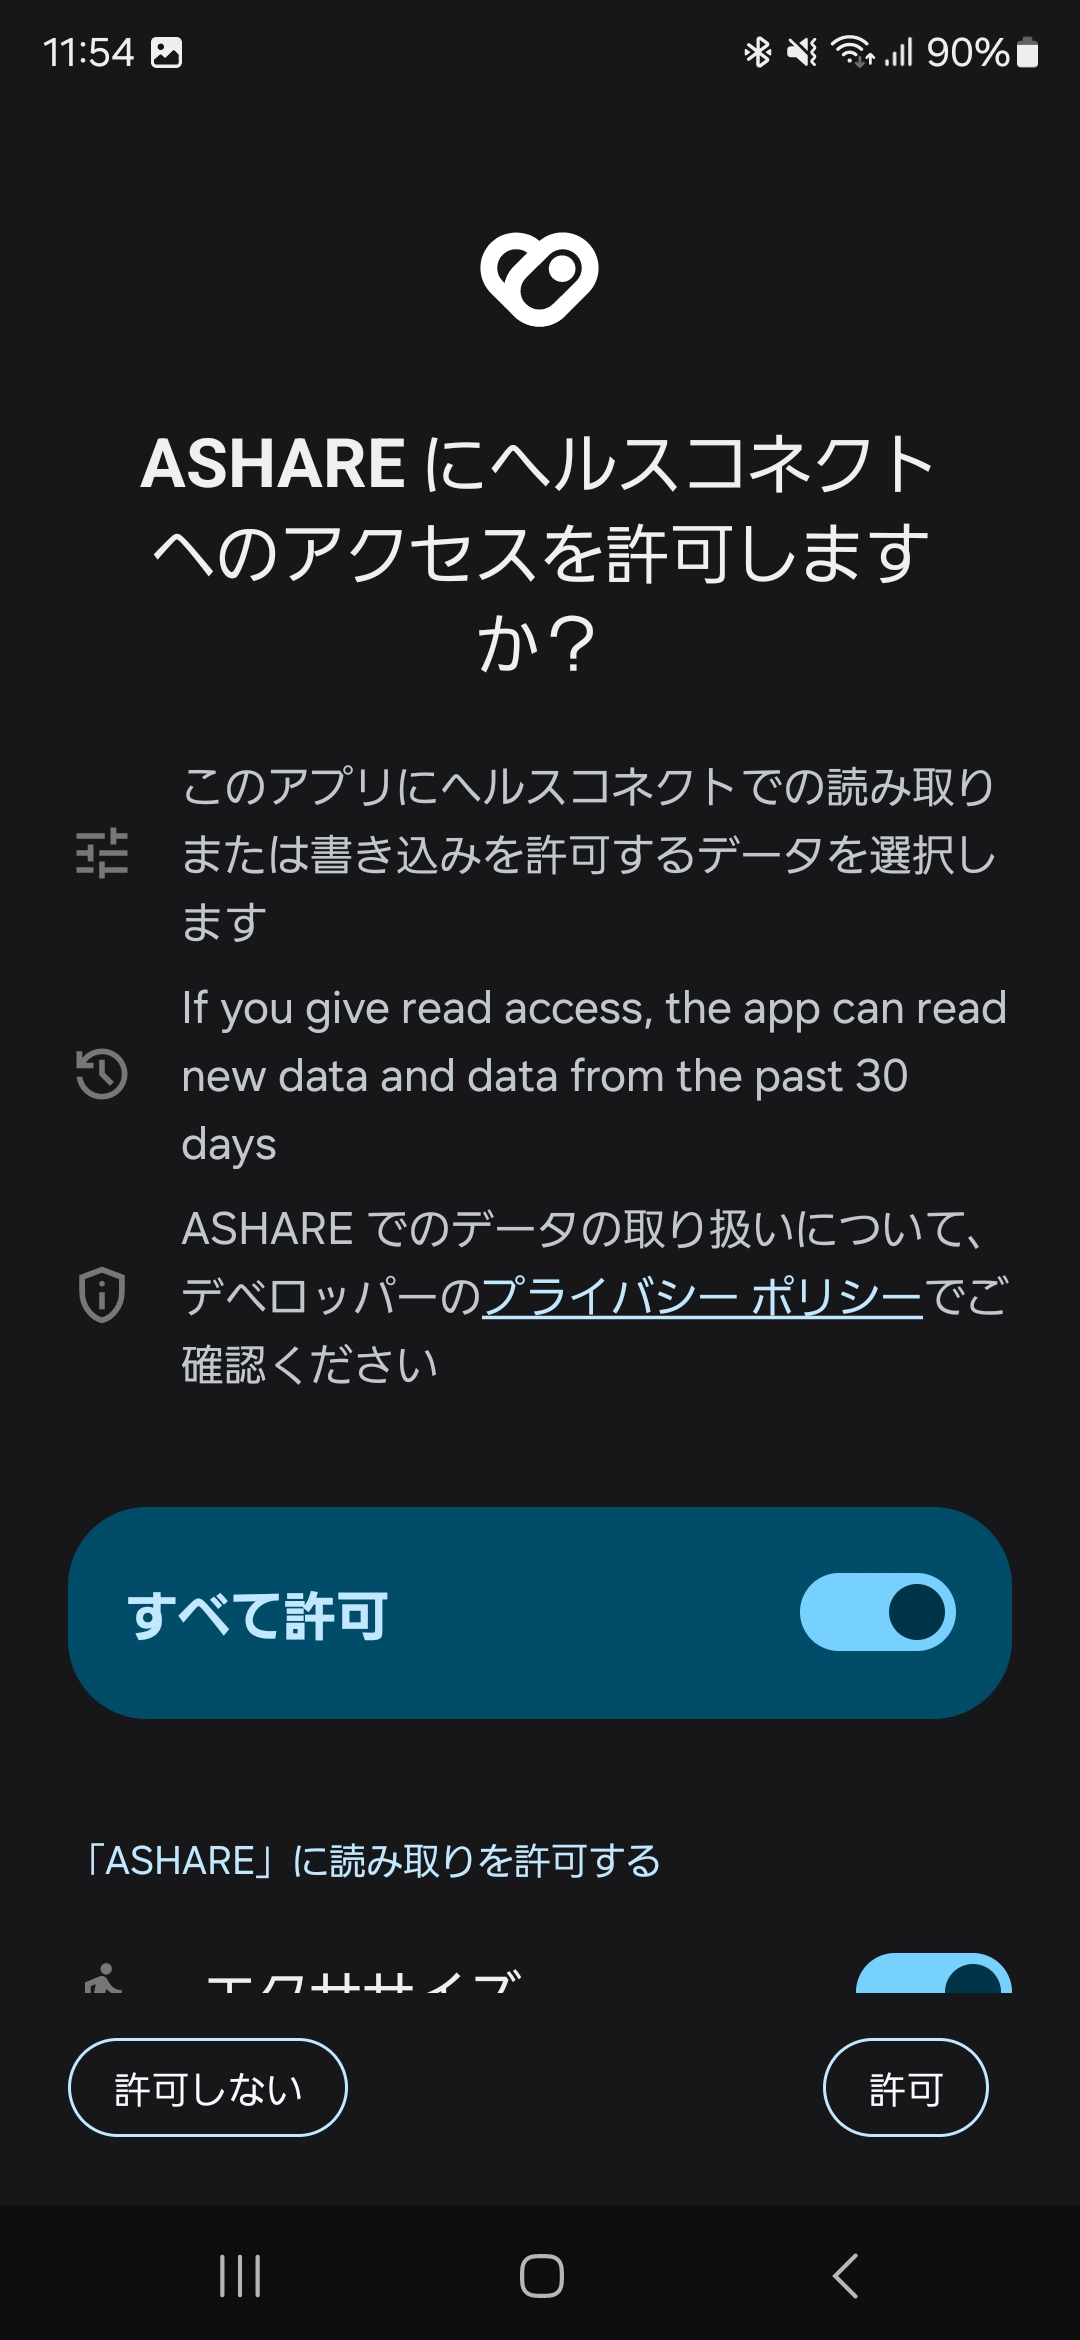
For Android deployments, finishing the onboarding tutorial triggers an automated system permission request routing data through Health Connect. Select "Allow all" (すべて許可) and tap "Allow" (許可) in the bottom right corner.
Step 5: Verifying Health Connect Integration Status
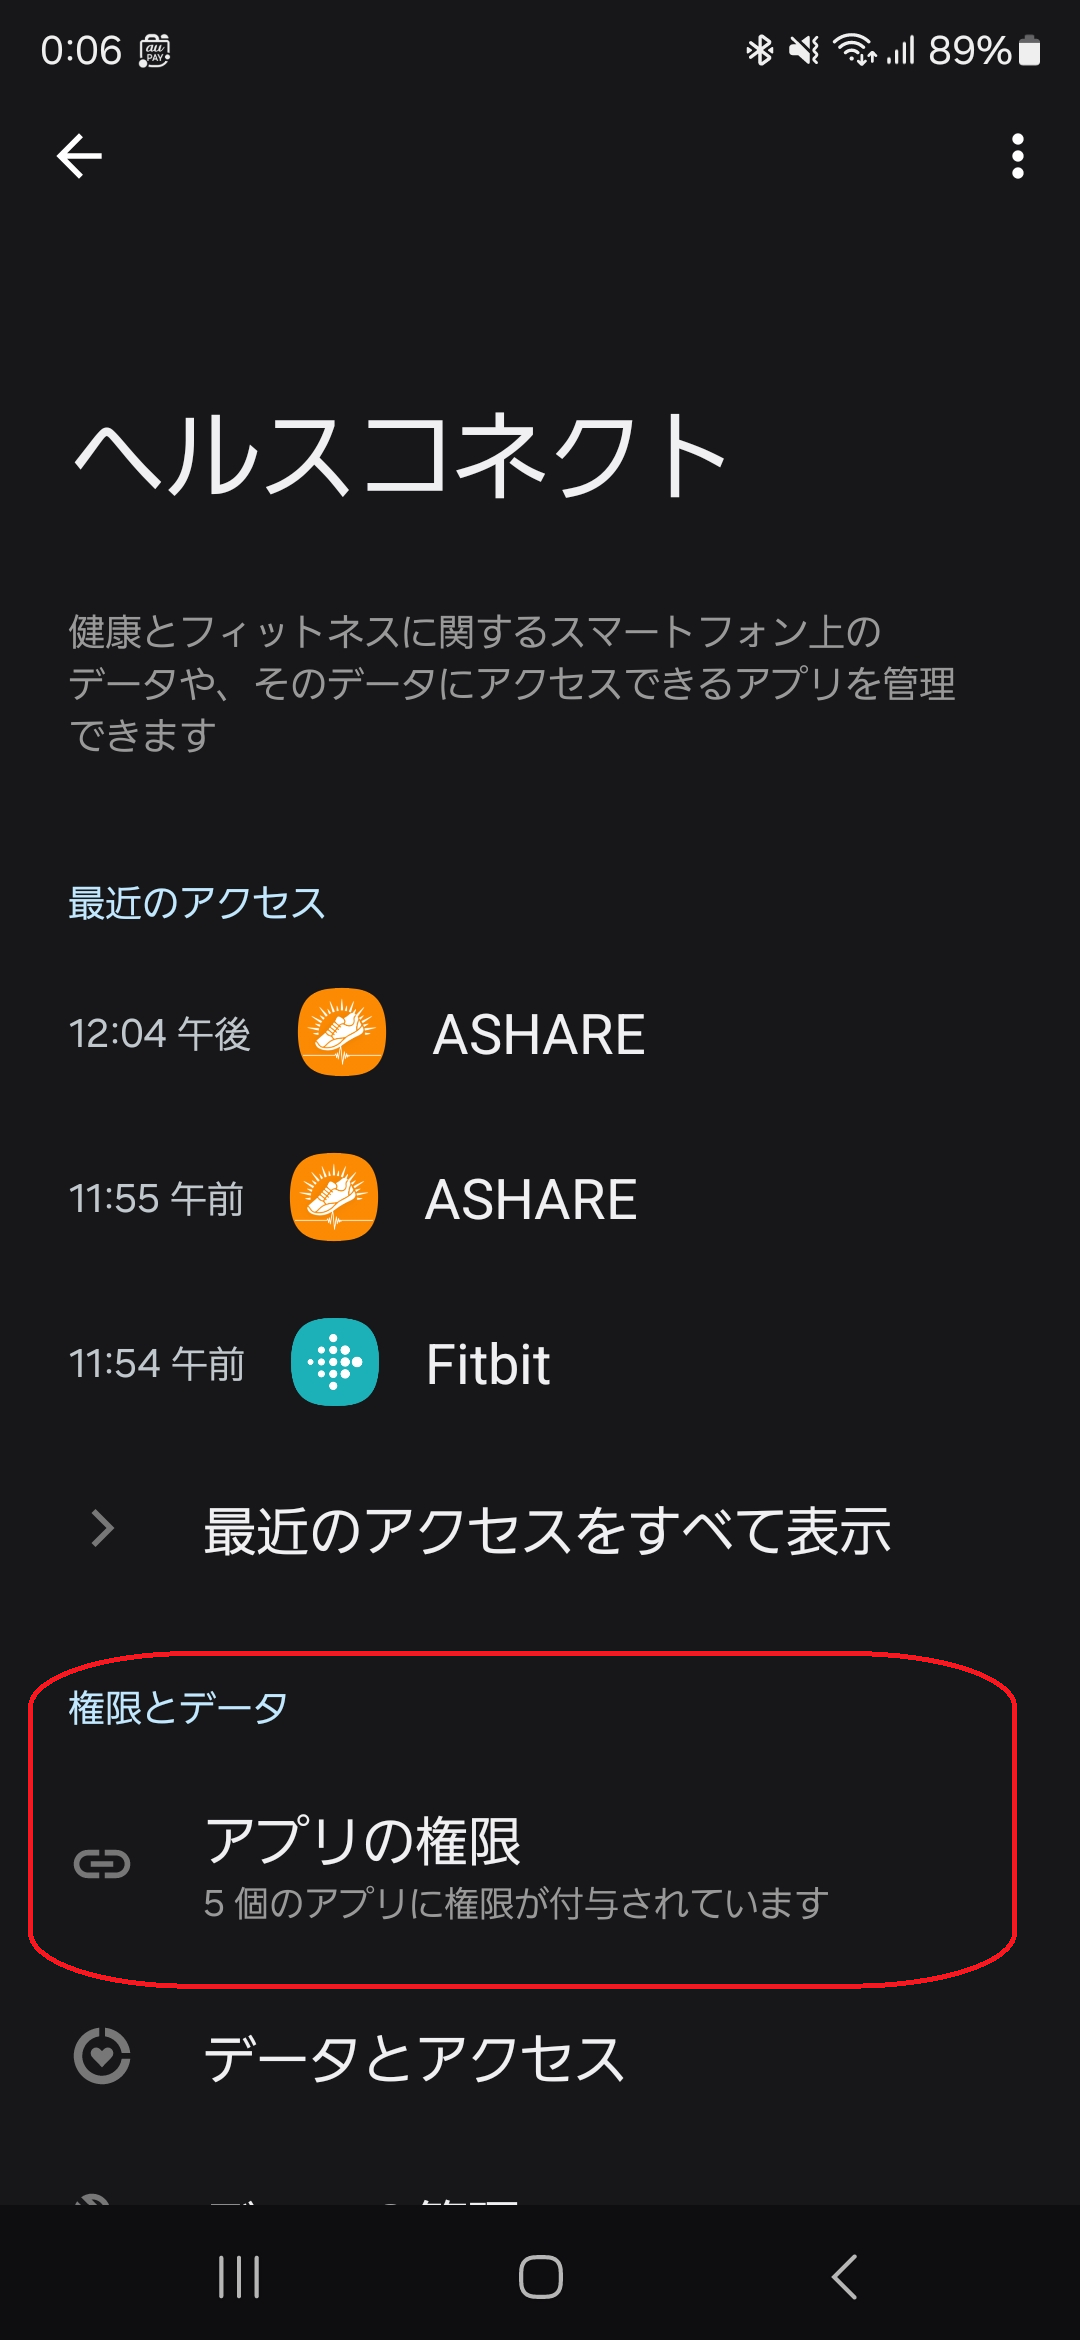
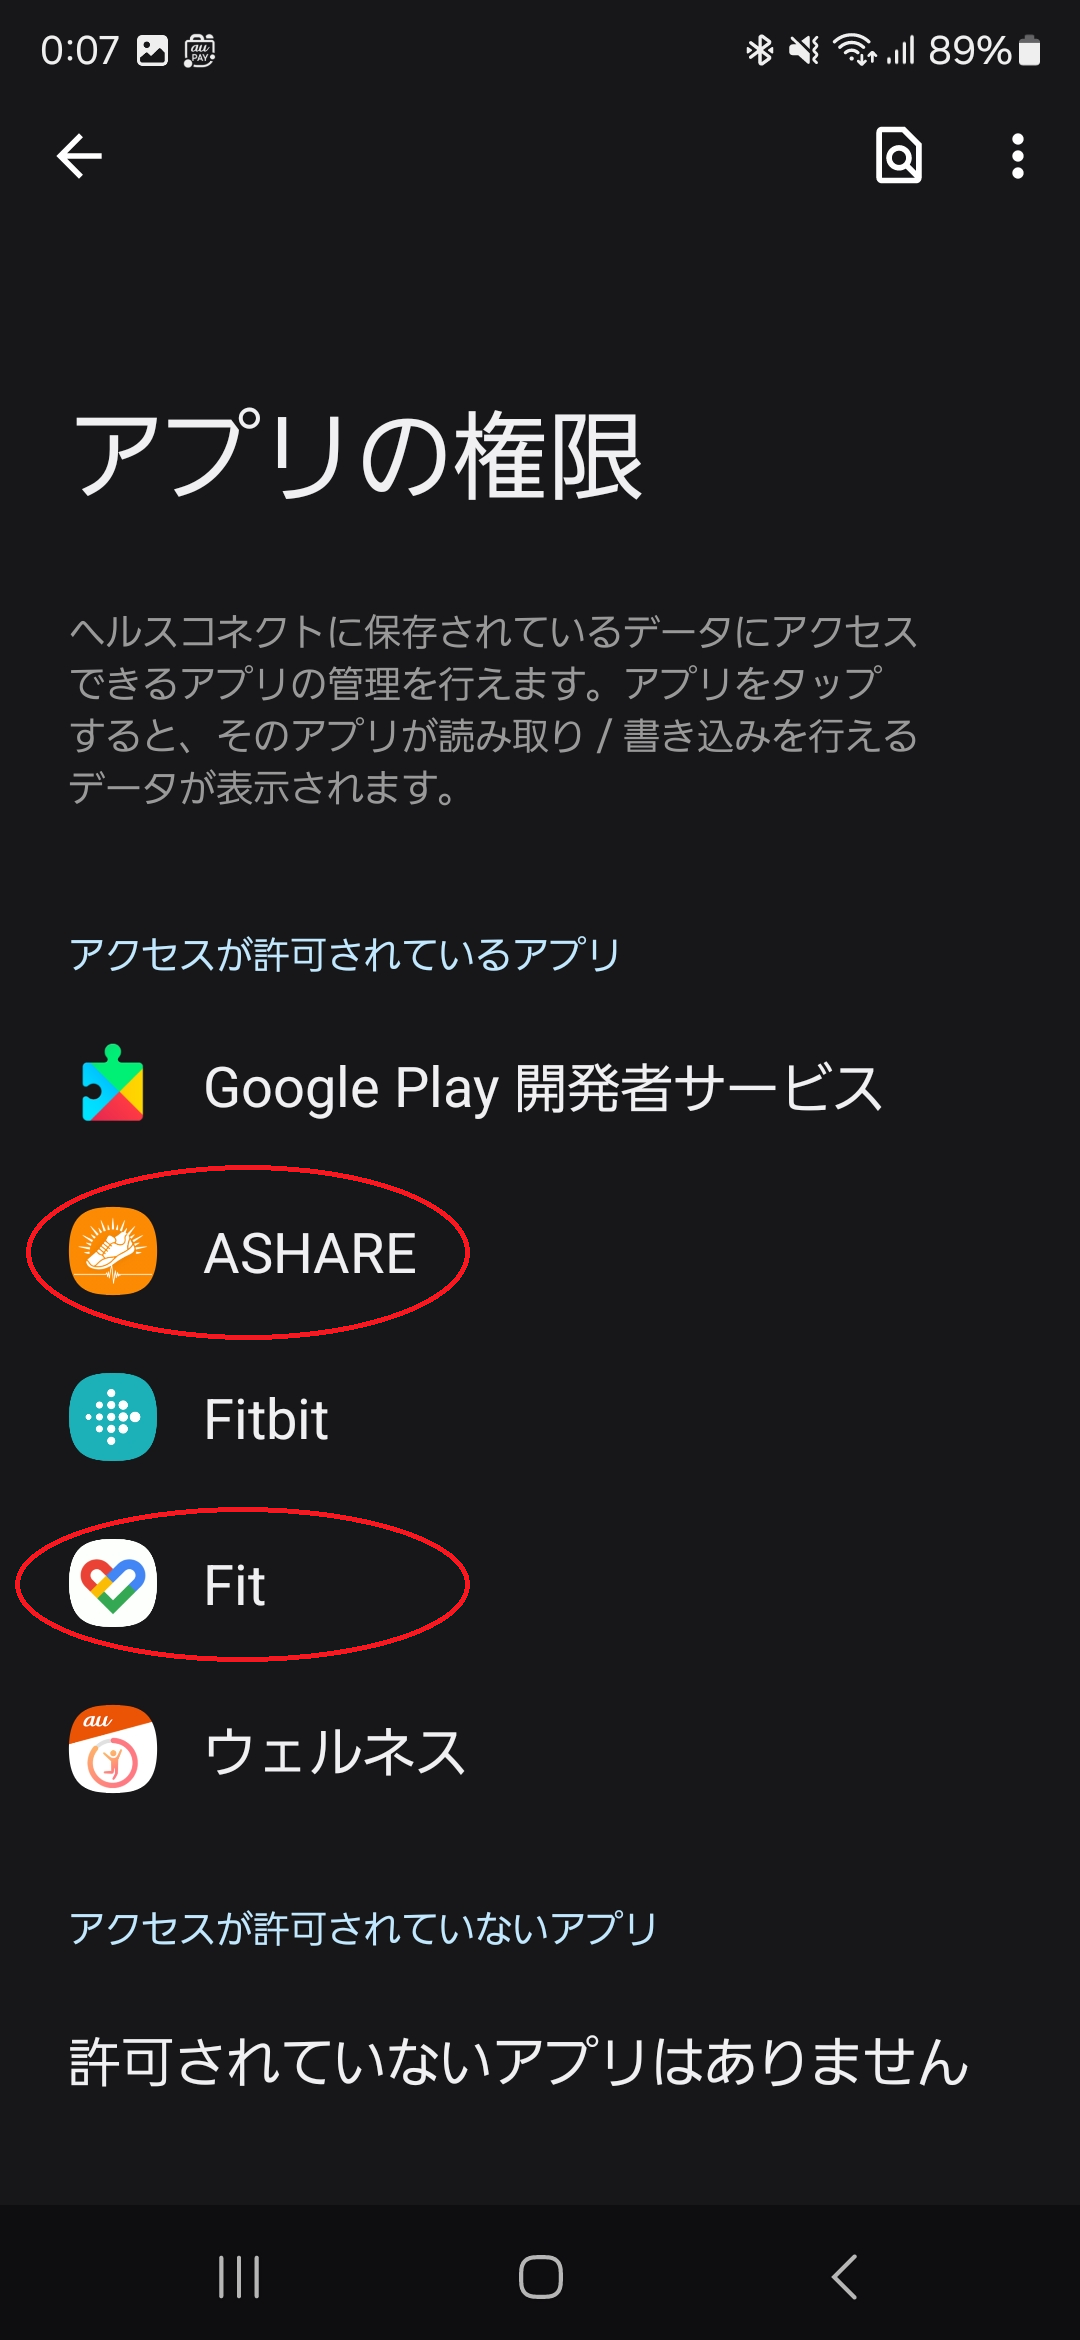
- Lastly, verify the data pathways inside the Health Connect interface. Open "Health Connect" via your device settings and select "App permissions."
- Ensure that both "Google Fit" and "ASHARE" appear under the "Allowed access" app list.
*Navigating to Health Connect settings can vary slightly depending on your device manufacturer. Searching for "Health Connect" directly in your native OS Settings app search box is highly effective.